Home printers
Print Greeting Cards at Home: Paper, Layout and Settings
Written by Printer Co editorial team · Updated
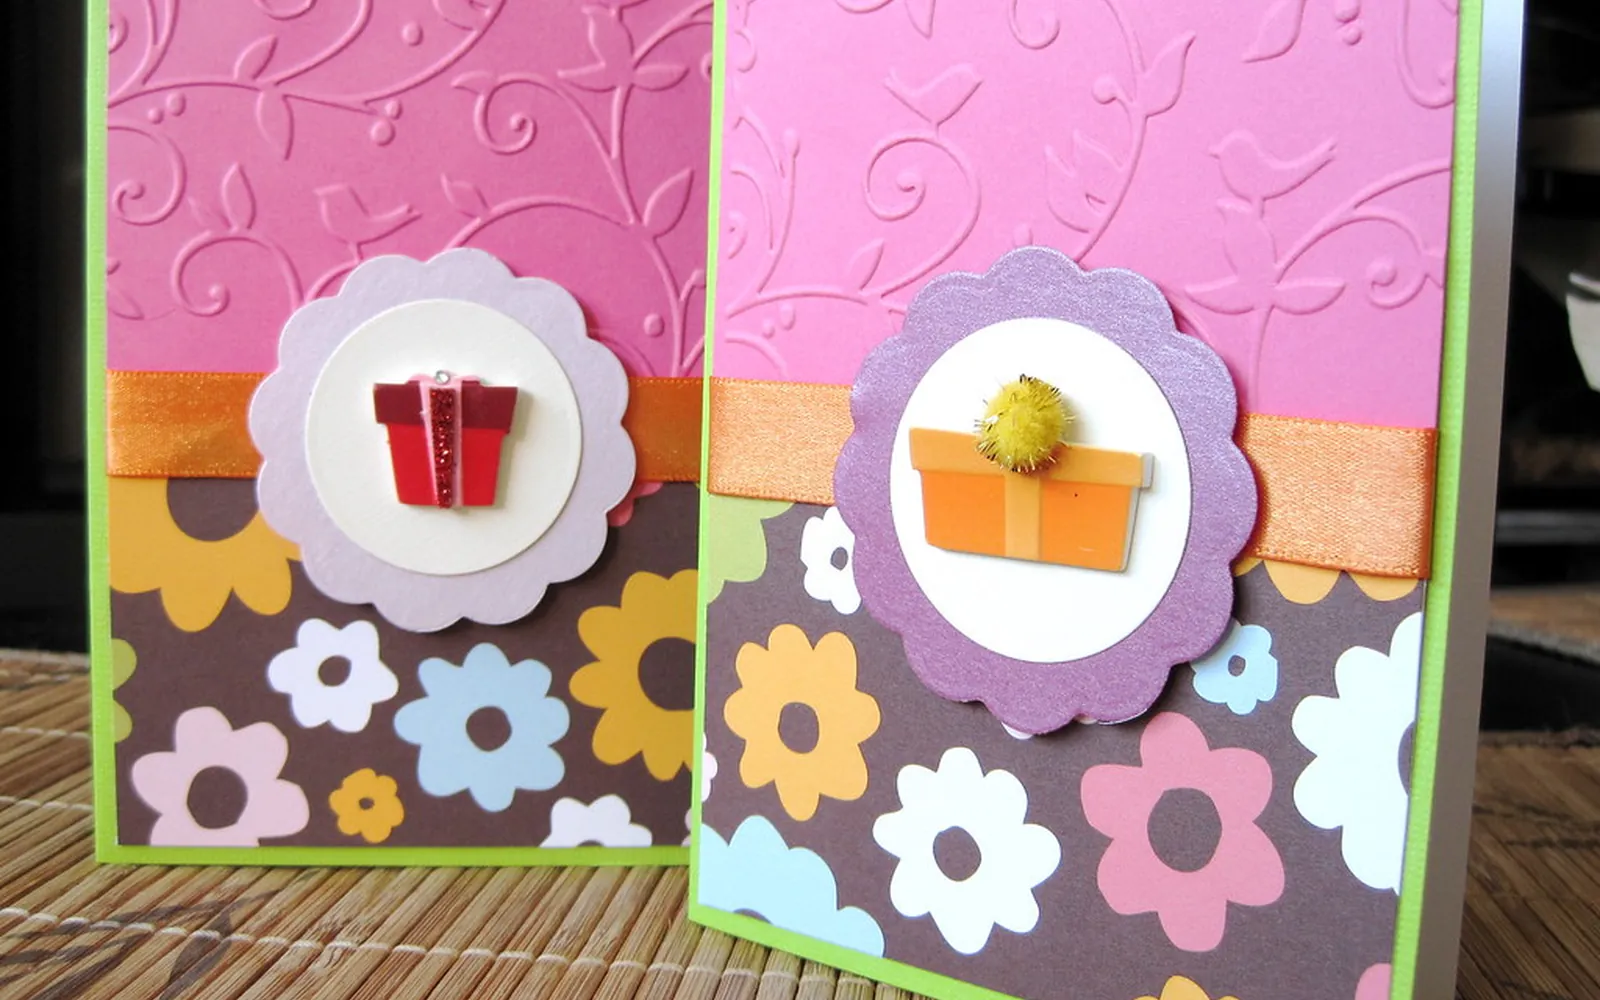
Wanting to print greeting cards at home usually starts in November, with a list of names and a photo you like. A home printer can produce good cards, but it pays to plan the paper, the fold and the order of printing before you load the first sheet. Most problems, from a card that will not feed to an inside message printed upside down, come from skipping one of those steps. This guide covers each in order.
Step 1: Find out what your printer can feed
Card stock is the first thing people buy and the most common cause of trouble. Printers list the paper they support in the manual, usually under “supported media types” or “paper weight”. It is worth reading before you spend money.
As an example, Canon’s TS3300 series manual lists plain paper from 64 to 105 g/m² (17 to 28 lb) for non-Canon paper, plus specific Canon photo papers. It does not list heavier card stock. Paper outside a printer’s range may jam or not feed at all. Other models, particularly those with a rear tray or a straight paper path, accept heavier stock; the manual is the only reliable answer.
If your printer only takes plain paper, you still have good options:
- A quarter-fold card on ordinary paper, which needs no card stock.
- Your printer’s own photo paper, printed with a design and then mounted on a folded card blank with glue or tape.
- Heavier paper within the listed range, for example a 100 to 105 g/m² sheet, which feels noticeably better than standard copy paper.
Our paper guide explains weights and finishes in more detail.
Step 2: Choose a card format
Most home cards are made by folding a standard sheet:
| Format | How it is made | Folded size from A4 | Folded size from US Letter |
|---|---|---|---|
| Half-fold | One fold across the sheet | A5 (148 x 210 mm) | 5.5 x 8.5 in |
| Quarter-fold | Two folds | A6 (105 x 148 mm) | 4.25 x 5.5 in |
| Flat card | No fold, printed on photo paper or card | Any size your printer supports | Any size your printer supports |
A-series sizes come from ISO 216, where each size is half the one above, which is why A4 folds neatly into A5 and A6. A quarter-fold card is printed on one side only, so you never need to reload the sheet. A half-fold card needs printing on both sides if you want a message inside.
Flat cards on photo paper are another easy route: print a photo with a short greeting on 10 x 15 cm (4 x 6 in) or 13 x 18 cm (5 x 7 in) paper, the sizes most home photo printers handle. Our photo printing guide covers paper and colour settings.
Step 3: Lay it out and mock it up
The fold is where most layouts go wrong. The front of a half-fold card is on the right half of the outside of the sheet; the back is on the left. In a quarter-fold, two panels are upside down on the flat sheet.
- Use a template. Many word processors and design apps include greeting card templates. Canon’s Creative Park site also offers free card templates and papercraft designs.
- Mock up on plain paper. Print a draft, fold it, and check that the front, the inside and the back are where they should be and the right way up.
- Keep margins. Leave space at the edges and away from the fold, so nothing important is lost if the sheet feeds slightly off-centre.
Step 4: Set the paper and quality options
In the print dialog, choose the paper type that matches what you loaded: plain, matte photo or glossy photo. The driver adjusts how much ink it lays down, so the wrong setting can leave glossy paper wet and smeared or plain paper soaked.
- Quality: use standard for text-only cards, high for photos.
- Borderless: use it only on paper the driver lists as borderless-capable. On card stock, a small white border is safer.
- Two-sided printing: for heavy paper, print manually rather than using automatic duplex. Our double-sided printing guide explains manual duplex and which way to reload the page.
- Load fewer sheets. Canon’s paper load limit page advises loading half the maximum or less when some paper types do not feed normally at full capacity.
Step 5: Print, dry, then print the inside
- Print the outside (front and back) of one card.
- Let it dry fully. Inkjet ink on photo or coated paper can stay wet for longer than on plain paper.
- Mark the top edge lightly with a pencil, reload the sheet as your manual shows for the second side, and print the inside.
- Check the first card before printing the rest.
- Fold along a straight edge, ideally after scoring the fold line with a blunt point and a ruler.
Step 6: Plan the envelopes
Buy envelopes that fit the folded size with a few millimetres to spare. A5 cards fit C5 envelopes and A6 cards fit C6 envelopes. In the US, check the envelope dimensions printed on the box against your folded card.
Before you choose an unusual shape, check postal rules. USPS says square or vertical envelopes cost more to mail than standard rectangular letters, and thickness limits apply. If you want to print the addresses too, see our guide on how to print envelopes at home.
Keep the ink bill in check
A full-colour design that covers the whole page uses far more ink than a line of text. To keep costs sensible:
- use a white or light background and keep large dark areas small,
- print a test on plain paper at draft quality before using good paper,
- work out the cost of a full-colour page with our cost per page guide, and compare it with a print shop for big batches.
If your printer has sat unused for weeks, run a nozzle check first so a streaky first card does not waste good paper; our print head clogging guide shows how.
If colours or edges look wrong
Cards show print faults more than letters, because of the solid colour areas and fine lettering. If the test print disappoints:
- Streaks or a missing colour: print a nozzle check and clean the print head once, then check again.
- Doubled or fuzzy fine lines: the print head may need alignment. See how to align print head.
- Soft, blocky photos: the image may have too few pixels for the card size. A common rule of thumb is about 300 pixels per inch at the printed size; our explainer on printer DPI shows how to check.
- Dull or blotchy colour: make sure the paper type in the print dialog matches the card you loaded.
Quick checklist
- Paper weight checked in the manual
- Format chosen: quarter-fold, half-fold or flat photo card
- Layout tested on plain paper and folded
- Paper type and quality set in the print dialog
- Front printed, dried, inside printed, first card checked
- Envelopes matched to the folded size
Frequently asked questions
Can my printer print on card stock?
It depends on the model. Look up 'paper weight' or 'supported media' in your manual. Canon's TS3300 manual, for example, lists plain paper from 64 to 105 g/m² for non-Canon paper. Heavier stock may jam or not feed on printers that do not support it.
What is the easiest card to print at home?
A quarter-fold card: one sheet of ordinary paper printed on one side, folded twice. It needs no card stock and no two-sided printing, and the result is a small card.
How do I print the inside of a card?
Print the front and back first, let the ink dry, then reload the same sheet to print the inside. Mark the top edge with a pencil and test the orientation on plain paper so the inside is not upside down.
Should I use borderless printing for cards?
Only if your printer supports it for the paper you use. Borderless printing usually works with specific photo papers and sizes. For card stock, leaving a small white margin is simpler and avoids ink on the platen.
Is it cheaper to print cards at home?
For a few cards, it can be, especially quarter-fold cards on plain paper. Full-colour, full-page designs use a lot of ink, so for large batches with photos a print shop can work out cheaper. Work it out with your cost per page.
Sources
Editorial team
The Printer Co editorial team researches and writes independent guides to home printers, ink and printing costs, using manufacturer documentation, standards bodies and consumer-protection sources.