Home printers
Photo Printing at Home: Printer, Ink and Paper Guide
Written by Printer Co editorial team · Updated
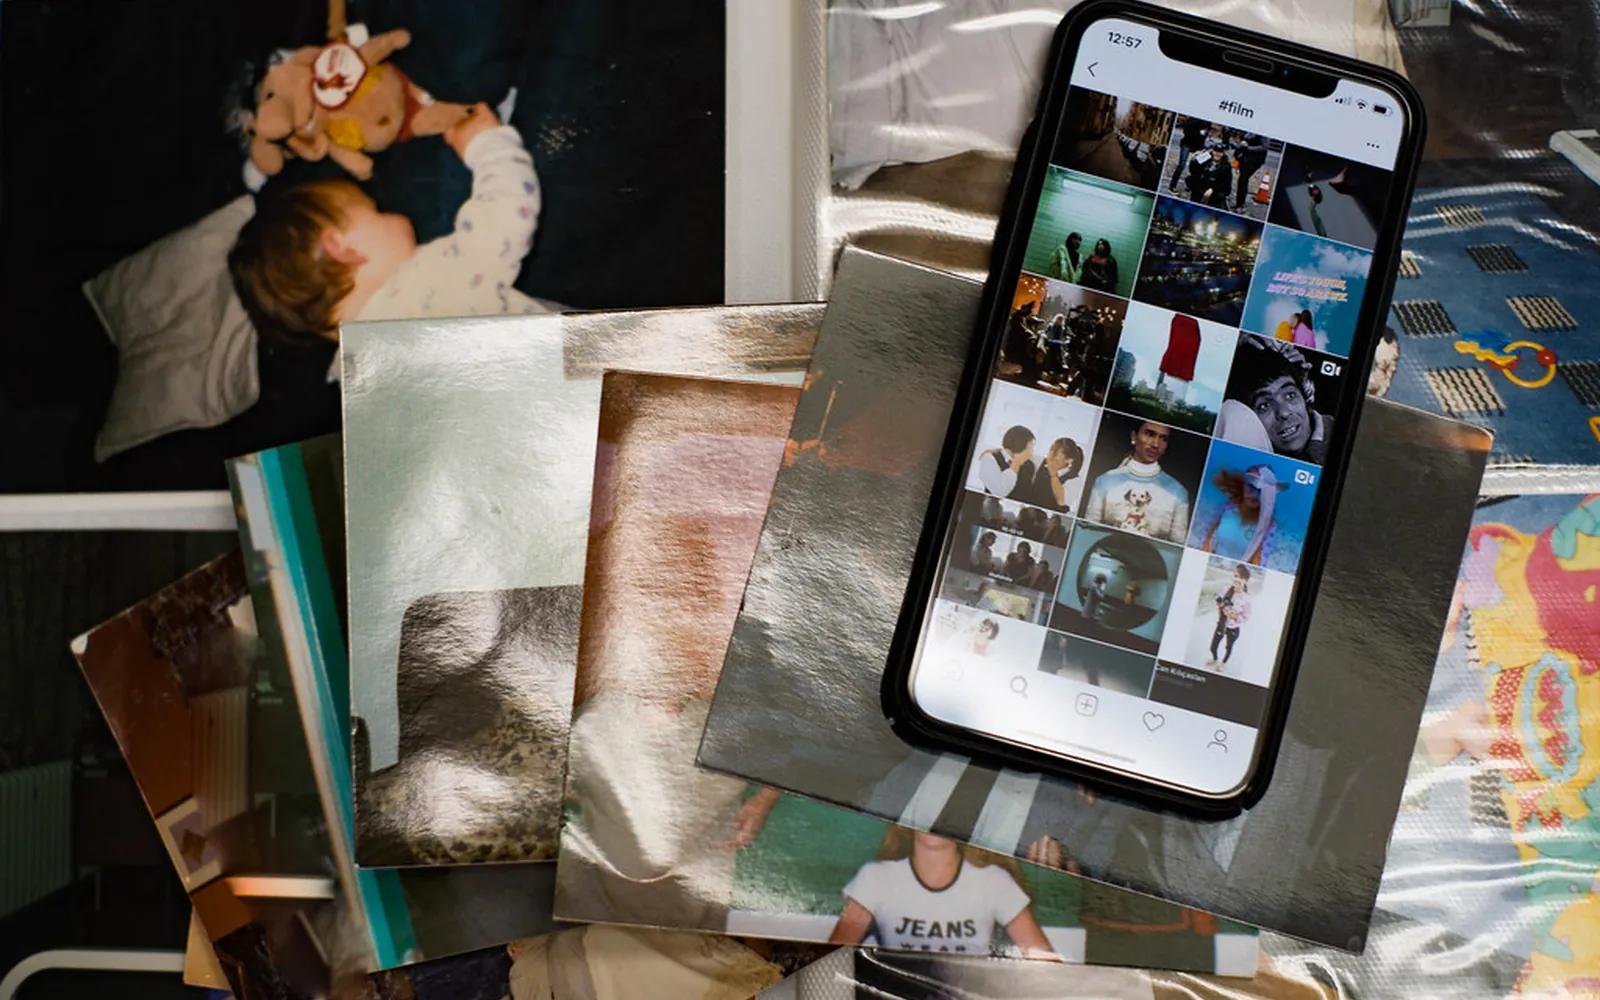
Photo printing at home can be one of the most satisfying uses of a printer: a picture on the fridge an hour after it was taken, a print for a card, a framed favourite. It can also be frustrating and expensive if the printer, ink and paper are not right. This guide covers what matters and when to send your photos to a lab instead.
Which printer type works for photos
For photos at home, choose an inkjet. Laser printers fuse toner with heat, and most cannot use glossy inkjet photo paper at all. See our laser vs inkjet comparison.
Among inkjets, look for:
- More ink colours. General printers use four colours (cyan, magenta, yellow, black). Photo-oriented printers often add extra colours, such as light cyan, light magenta, grey or a photo black, to give smoother skin tones and gradients.
- Borderless printing in the sizes you want.
- A rear or dedicated photo tray, so thick paper takes a straight path.
- Sensible ink costs. Photos use a lot of ink. Check cost per page from official yields, and remember that the standard yield test uses document pages, not photos. An ink tank printer or an ink subscription can make heavy photo printing cheaper.
Small dedicated photo printers that print only postcard sizes exist too, using inkjet, dye-sublimation or other technologies. They are convenient for parties and scrapbooks but have their own consumables, so compare the price per print.
Dye ink vs pigment ink
| Dye ink | Pigment ink | |
|---|---|---|
| How it works | Colour dissolved in liquid, soaks into the paper coating | Tiny solid particles suspended in liquid, sit on the paper |
| Look | Vivid, saturated, glossy | Slightly less saturated on gloss, excellent on matte |
| Fade resistance | Generally lower | Generally higher |
| Typical use | Everyday photos, glossy prints | Archival and fine-art prints, black text |
Many home printers combine a pigment black for crisp text with dye colours for bright images. Neither is wrong; it depends on whether you value punch or longevity more. To find out which your printer uses, search its specification sheet or ink list for the word “pigment” next to each colour. Our full comparison of pigment vs dye ink covers water resistance, smudging and fading in more detail.
Choosing photo paper
- Glossy: bright and contrasty, shows fingerprints and glare.
- Lustre or semi-gloss: a fine texture that reduces glare, a popular all-rounder.
- Matte: no shine, good for black and white and for prints behind glass.
- Fine-art papers: heavy cotton or textured papers, usually best with pigment inks.
Buy paper labelled for inkjet printers. Paper from your printer’s maker is matched to its driver settings. Good third-party papers often publish colour profiles for common printers, which help colours come out as expected.
Before you buy a large pack, check the manual for the heaviest paper each tray accepts; thick photo and fine-art papers often need the rear tray or a straight paper path. For everyday documents, card and general-purpose sheets, see our guide to the best paper for a home printer.
Sizes and cropping
The most common home photo size is 4 x 6 inches (10 x 15 cm). It has the same 3:2 shape as many cameras, but not the shape of most phone photos, which are usually 4:3 or taller. Print a 4:3 phone photo borderless on 4 x 6 paper and the printer has to crop part of the picture at the top and bottom or the sides.
To avoid surprises:
- Crop the photo yourself to the paper’s shape before printing, in the phone’s or computer’s photo editor.
- Check the print preview, which shows what will be cut off.
- If you do not want to crop, print with white borders and fit the photo to the paper.
- On Letter or A4 sheets, use a multiple-photos-per-page layout instead of a single small photo in the middle, to avoid wasting paper.
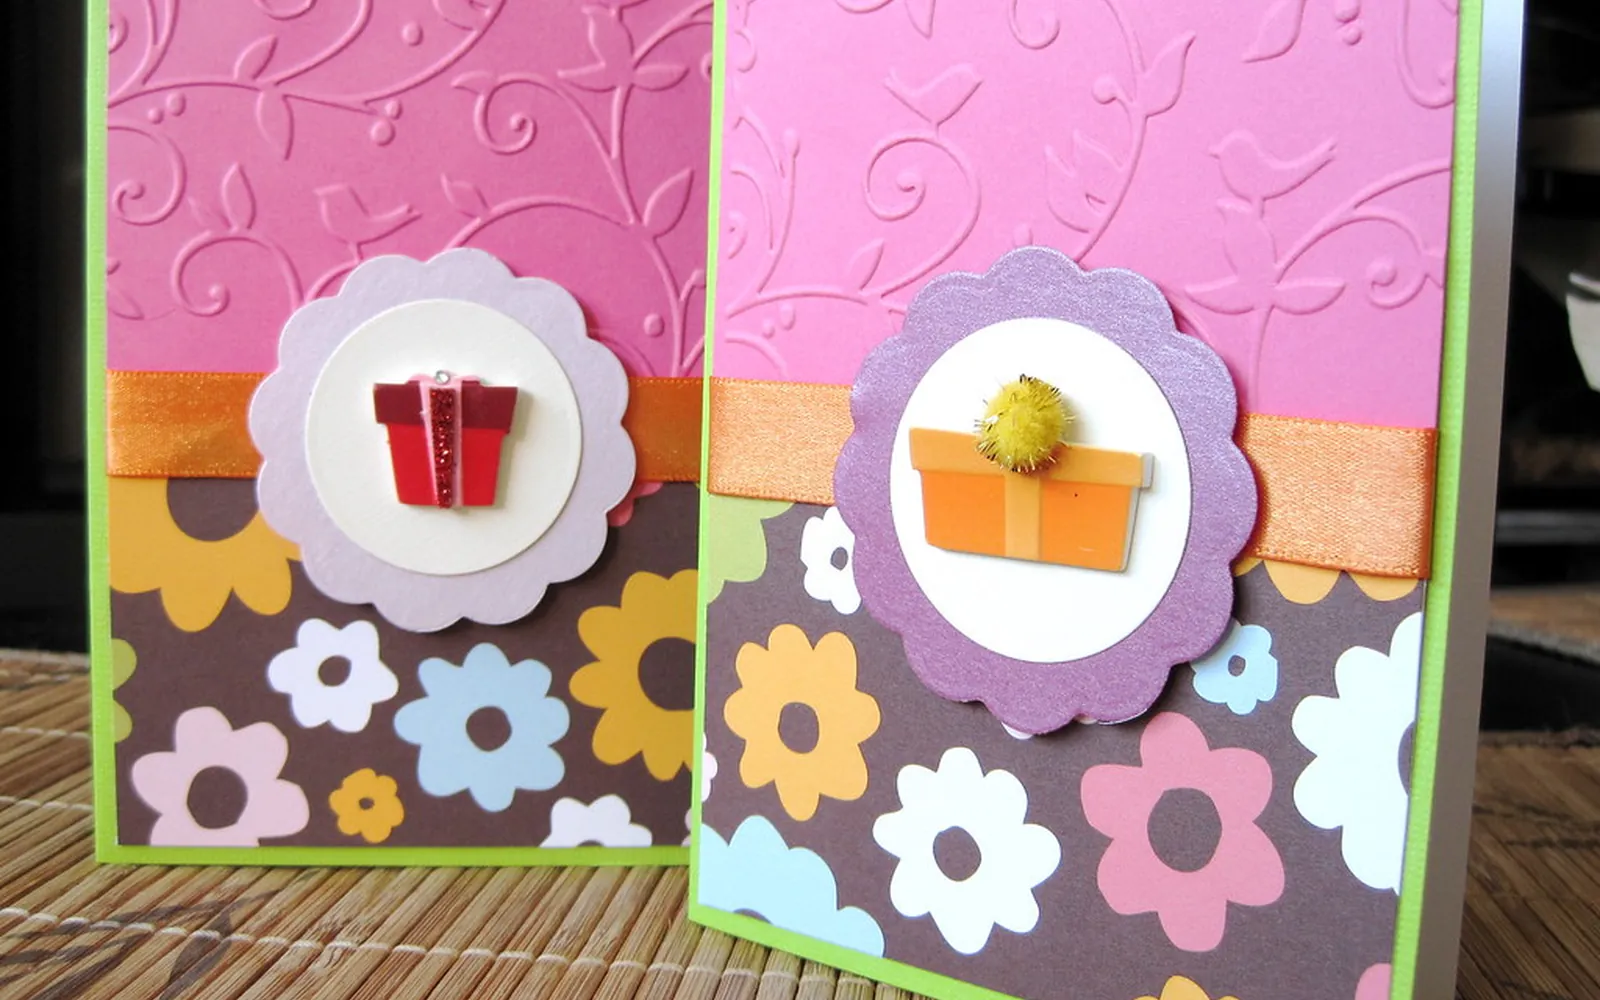
A 4 x 6 or 5 x 7 inch print with a short message also makes a simple flat card; our guide to print greeting cards at home covers folded cards, card stock and envelopes.
Settings that make or break a print
- Set the paper type in the print dialogue to match the paper in the tray. This controls how much ink is laid down. The wrong setting is the most common cause of muddy or smeared photos.
- Choose the best or photo quality mode.
- Turn off automatic “enhance” options if you have already edited the photo.
- Let prints dry before stacking or judging colour; colour can shift slightly as ink dries.
- Calibrate expectations to your screen. Phone and laptop screens are bright. If prints look dark, lower screen brightness when editing.
Printing from a phone? iPhones print through AirPrint, but the print options are simpler than a computer’s. For important prints, a computer gives more control. See printing from an iPhone to a home printer.
Keep nozzles healthy
Photo printing exposes clogged nozzles mercilessly: a single blocked colour shows as banding or a colour cast. If you print photos only occasionally, print a small colour page every week or so and run a nozzle check before an important print. Our guide to print head clogging explains more.
Making prints last
Display prints away from direct sunlight, preferably behind glass. Store them in albums or archival boxes rather than plastic sleeves of unknown quality. Heat and humidity speed up fading and yellowing.
Home printer or print lab?
| Home printer | Print lab | |
|---|---|---|
| Speed | Minutes | Same day to several days |
| Cost per standard print | Often higher once paper and ink are counted | Often lower for standard sizes |
| Custom sizes and papers | Flexible | Limited to the lab’s range |
| Effort | You manage ink, paper, settings | Upload and collect |
If you print a few dozen standard photos a year, a lab is often the better deal. If you print regularly, want control, or enjoy the craft, a good home photo printer is worth it. Work out your cost per page for photos, using a photo-heavy estimate rather than the standard yield.
Frequently asked questions
Is it cheaper to print photos at home or at a lab?
For small batches of standard sizes, a lab is often cheaper once you add photo paper and ink. Home printing makes more sense if you print photos often, want them immediately, or need custom sizes and papers.
Which ink is better for photos, dye or pigment?
Dye inks give bright, saturated colour, especially on glossy paper. Pigment inks generally resist fading for longer and work well on matte and fine-art papers. Many photo printers use a mix.
Can I use any photo paper in my printer?
Use paper made for inkjet printers. Paper from your printer's maker is matched to its ink and driver settings. Third-party paper can work well, and some paper makers publish colour profiles for popular printers.
Why do my printed photos look darker than on screen?
Screens emit light and are often set very bright, while prints reflect light. Lowering screen brightness when editing, choosing the right paper setting and letting prints dry before judging them all help.
How long do home-printed photos last?
It depends on the ink, the paper and how prints are displayed or stored. Prints behind glass, away from direct sunlight, last much longer. Independent researchers publish permanence tests for some ink and paper combinations.
Can I print photos on plain paper?
You can, but they will look dull and the paper may curl from the amount of ink. Photo paper has a coating that holds ink at the surface, which is what gives bright colour and fine detail.
Sources
Editorial team
The Printer Co editorial team researches and writes independent guides to home printers, ink and printing costs, using manufacturer documentation, standards bodies and consumer-protection sources.