Ink and toner
How to Align Print Head on a Home Inkjet, Step by Step
Written by Printer Co editorial team · Updated
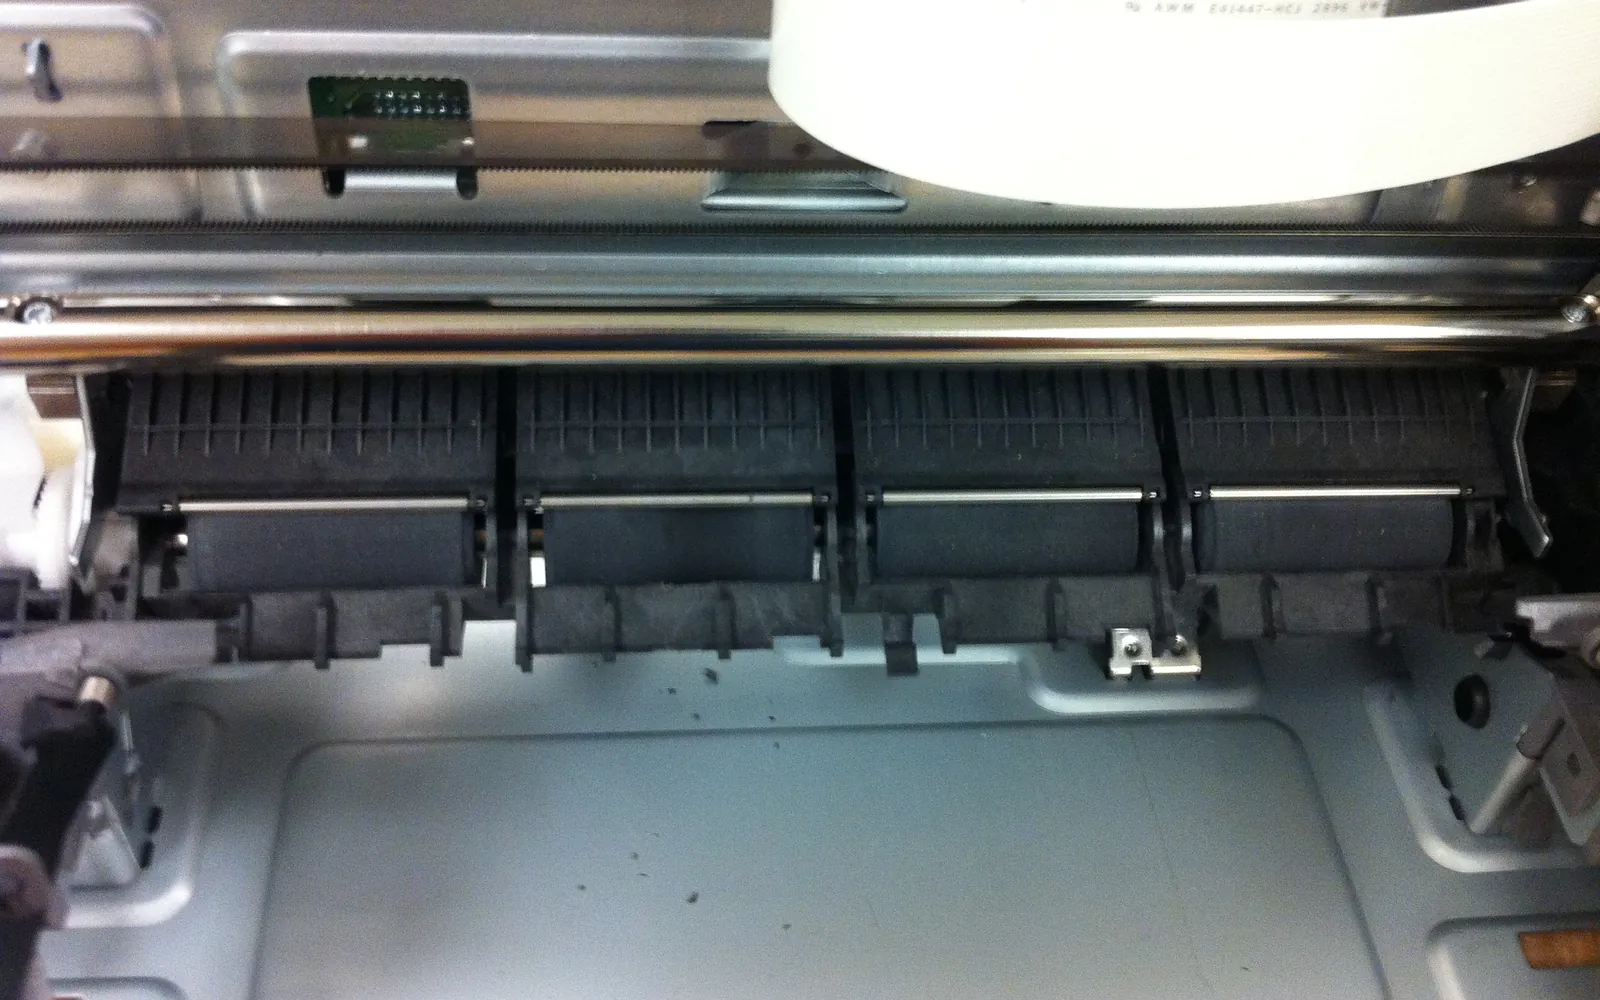
Knowing how to align print head settings fixes a specific, annoying kind of bad print: straight lines that come out jagged, text that looks soft or doubled, or colours that sit a hair off each other. It takes a few minutes, a couple of sheets of plain paper and a little ink. This guide explains how to tell whether alignment is what you need, how to run it from the printer or a computer, and what to try if it does not help.
What print head alignment actually does
An inkjet print head moves back and forth across the page on a carriage, firing tiny drops from rows of nozzles. Many printers print in both directions to save time, and each colour comes from a different group of nozzles. For a sharp result, drops fired on the left-to-right pass have to land exactly where drops from the right-to-left pass land, and each colour has to line up with black.
Alignment prints test patterns at slightly different timing settings. Either the printer reads the pattern with a sensor (automatic alignment) or you look at it and tell the printer which setting looks best (manual alignment). The printer then stores the correction.
Alignment or cleaning? Check first
The most common mistake is aligning a printer whose real problem is clogged nozzles. The two look different:
| What you see | Likely cause | Fix |
|---|---|---|
| Missing lines, white streaks, a colour missing | Clogged or dry nozzles | Nozzle check, then cleaning |
| Faint, uneven or banded colour | Low ink or partial clogs | Check ink, nozzle check, cleaning |
| Jagged or stepped vertical lines | Misalignment | Print head alignment |
| Blurry or doubled text | Misalignment (or wrong paper setting) | Alignment, then check paper type |
| Colours not lining up at edges | Misalignment | Print head alignment |
Canon’s maintenance procedure follows that split. For blurred or uneven results it says: print a nozzle check, examine it, clean the print head if lines are missing, and repeat. It also warns never to rinse or wipe the print head. When ruled lines are misaligned, the step is to align the print head. Epson’s guide for an older all-in-one likewise notes that banding can come from low ink or a head that needs cleaning, not only misalignment. Our page on print head clogging covers the cleaning side.
Before you start
- Check the ink. Canon warns that if the remaining ink is low, the alignment sheet will not print correctly. Top up or replace the low colour first.
- Use the right paper. Most printers want plain A4 or Letter paper. Some models ask for a specific paper instead; one Canon support page, for example, asks for Canon Matte Photo Paper MP-101 for manual alignment. Your manual says which.
- Use the right tray. Some models only align from one tray. Canon’s GX7000 manual, for example, has you load the paper in cassette 1.
- Do not interrupt. Do not open covers or press Stop while the pattern prints.
Automatic alignment from the printer
On printers with a screen, the path is usually something like Setup, Maintenance, Print head alignment. The printer prints a pattern, scans it with a sensor and adjusts itself. On some models you then place the printed sheet on the scanner glass so the printer can read it; follow the on-screen prompts.
When it finishes, print a page with fine text and a few straight lines to check the result.
Automatic alignment from a computer
If your printer has no screen, use its software:
- Windows: open the printer’s preferences or the maker’s utility and look for a Maintenance tab. Canon’s driver has an option to adjust the print head position automatically; Epson’s utility has a Print Head Alignment button.
- Mac: open the maker’s printer utility from Applications, or the printer’s options in System Settings, and look for alignment.
Some older Epson guides, such as the one for the Stylus Photo R340, say the alignment utility only works when the printer is connected directly to the computer rather than over a network, so try USB if the option is greyed out.
Manual alignment: reading the pattern
If automatic alignment leaves lines still slightly off, run manual alignment. Canon’s GX7000 manual describes it well:
- Load two sheets of plain A4 or Letter paper in cassette 1.
- Choose Setup, Maintenance, Print Head Alignment - Manual.
- When the first patterns print, confirm they printed correctly.
- For each column (A, B, C and so on), find the pattern where the stripes are least noticeable and enter its number.
- A second set of patterns prints; repeat for the remaining columns and confirm.
Epson’s older utility works the same way: for each set, enter the pattern with no visible vertical lines, or the one closest; then, for the horizontal sheets, the pattern with no gap or line between the rectangles. If none looks right, it offers a Realignment option to print the patterns again.
Tips for reading patterns: look in good daylight, hold the sheet at arm’s length first, then up close, and if two patterns look equally good, pick the one in the middle of them.
When alignment does not fix it
- Check the paper type setting. Printing on glossy paper set as plain, or the reverse, can look blurry. Our paper guide explains the settings.
- Repeat cleaning, carefully. Canon’s procedure allows two rounds of nozzle check and cleaning, then a deep cleaning, then waiting 24 hours with the power off (not unplugged) before trying again. Many cleaning cycles in a row waste ink.
- Replace the cartridge if your printer uses cartridges with a built-in print head. A worn or damaged head on the cartridge cannot be aligned away.
- Contact the maker if the printer is under warranty and nothing helps; Canon’s guide says a persistent problem may mean a defective print head.
Three situations where alignment is worth checking
- After moving the printer. A printer that has travelled in a car or a removal van can come out of the box with slightly misaligned output, especially if it was tipped. Canon’s transport instructions stress keeping the box upright and turning the printer off with its own button first so the head is capped. Once it is set up again, print a nozzle check, then an alignment pattern if lines look jagged; our guide on how to move a printer has the full routine.
- When the ink gauge says there is plenty of ink but prints are faded or streaky. That usually points to the nozzles or alignment, not an empty cartridge. Check the levels first, as explained in how to check ink levels, then run the nozzle check before you buy ink.
- Before an important photo job. Misalignment shows most on fine detail and edges. If you are about to print photos edge to edge, print one test first; see how to print borderless photos.
Saving ink while you troubleshoot
Each nozzle check, cleaning and alignment uses some ink. Fix one thing at a time, print a check after each step, and stop once the output is good. If you find yourself cleaning a lot because the printer sits idle, read how long printer ink lasts and consider printing a page every week or so.
Frequently asked questions
How do I know if my print head needs alignment?
Typical signs are vertical lines that look jagged or stepped, text that looks slightly blurred or doubled, and colours that do not line up at their edges. Canon's maintenance guide says to align the print head when ruled lines are misaligned or results are not even.
Is print head alignment the same as cleaning?
No. Cleaning forces ink through the nozzles to clear blockages, which fixes missing lines and streaks. Alignment adjusts the timing and position of where the nozzles fire, which fixes jagged lines and blur. Clean first if the nozzle check shows gaps.
Does print head alignment use ink?
It uses a small amount to print the test patterns, plus one to three sheets of paper depending on the printer. It uses far less than a cleaning cycle.
Why does my printer fail the alignment?
Common causes are low ink, clogged nozzles, the wrong paper or tray, or opening a cover during the process. Canon notes that a low ink level can stop the alignment sheet printing correctly. Refill or replace the low ink, run a nozzle check, and try again.
How often should I align the print head?
Only when you see the symptoms, and after installing a new print head or moving the printer. There is no need to do it on a schedule.
Sources
- Canon GX7000 series online manual: Maintenance Procedure
- Canon GX7000 series online manual: Aligning the Print Head Manually
- Canon support: Aligning the Print Head
- Epson Stylus CX user's guide: Aligning the Print Head
- Epson Stylus Photo R340 user's guide: Aligning the Print Head
- Canon TS3300 series online manual: Transporting Your Printer
Editorial team
The Printer Co editorial team researches and writes independent guides to home printers, ink and printing costs, using manufacturer documentation, standards bodies and consumer-protection sources.