Home printers
How to Print Envelopes at Home: Loading, Settings, Tips
Written by Printer Co editorial team · Updated
Knowing how to print envelopes at home saves hand-writing a stack of addresses for invitations, holiday cards or bills, and it looks neater too. Most home inkjets and many lasers can do it. The trouble is that envelopes are thicker, stiffer and less even than paper, and every printer wants them loaded a slightly different way. Get the orientation and the size setting right, flatten the envelopes first, and test one before the batch. Here is how.
Step 1: Check what your printer supports
Open your printer’s online manual and search for “envelope”. You are looking for four things:
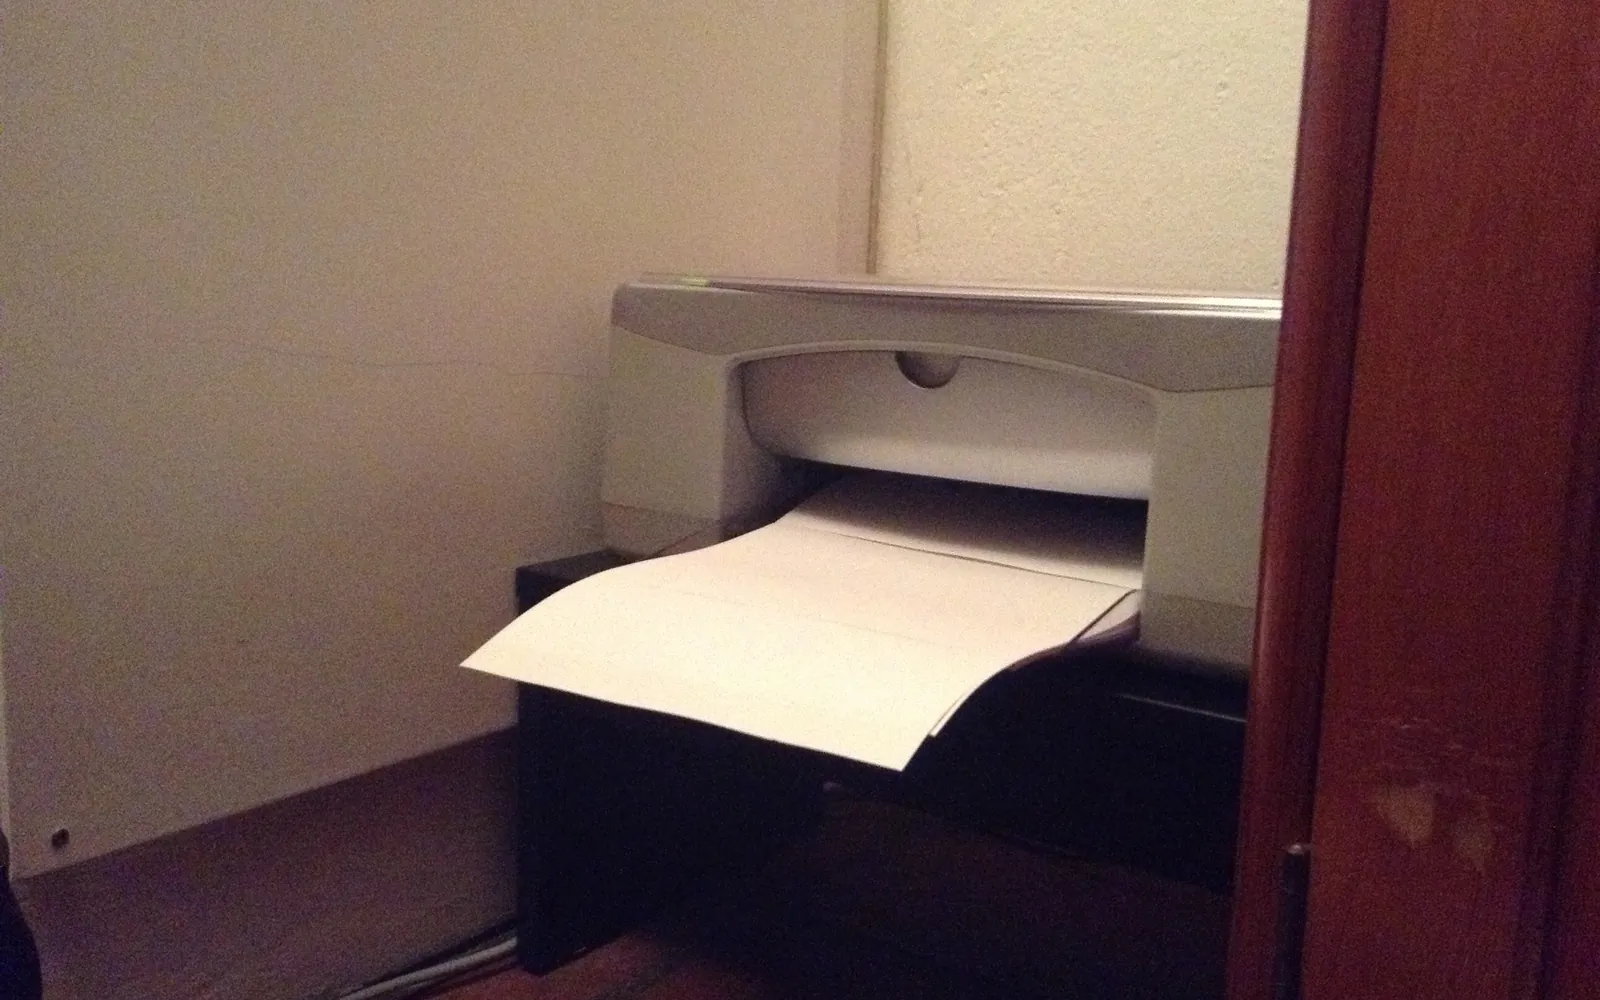
- Which tray to use. Many inkjets feed envelopes from a rear tray or slot. Many lasers use a manual feed slot or multipurpose tray.
- Supported sizes. Canon’s TR7000 manual, for example, lists Envelope DL and Envelope Com 10 in its driver. DL is common in Europe; Com 10 is the standard US business size.
- How many at a time. Canon’s TR7000 manual and an Epson support FAQ both say up to ten envelopes.
- Which way they face. This varies, so read it for your model rather than relying on a general rule.
If your printer does not list envelopes at all, do not force it. Use labels instead (see below).
Step 2: Choose envelopes that feed well
Plain paper envelopes with a straight, single flap work best. Canon’s manual warns against envelopes with an embossed or treated surface, envelopes with a double flap, and envelopes whose gummed flap is already moist and sticky, because they can jam or damage the printer. In practice, also avoid:
- padded or bubble envelopes,
- envelopes with clasps, strings or plastic windows that are not rated for printing,
- very thick or heavily textured stock.
If you use a laser printer, buy envelopes rated for laser use. Laser printers fuse toner with heat, which can wrinkle or seal envelopes that are not made for it.
If you are mailing in the US, USPS rules also matter: letter-price envelopes must be rectangular and made of paper, within a maximum size and thickness, and square or vertical envelopes cost extra. Check the USPS letters page, or your own postal service, before you buy unusual shapes.
Step 3: Prepare and load them
Canon’s manual gives preparation steps that apply to almost any printer:
- Press flat on all four corners and edges of each envelope.
- Untwist curl by holding opposite corners and twisting gently the other way.
- Flatten the flap corners and sharpen the leading edge by running a pen along it.
Canon says curl or puff should not exceed 3 mm (0.12 in). Then load as your manual shows. On Canon’s TR7000 series, that means portrait orientation, address side up, flap folded. Epson’s FAQ for its CX3200 says printable side up, flap down and on the left, and that older model also needs a thickness lever set to the envelope position and moved back afterwards. Slide the paper guides until they touch the envelopes, without squeezing; Canon notes envelopes may not feed if the guides are too tight.
Step 4: Set up the document and print settings
The address needs to land in the right place, and the printer needs to know it is handling an envelope.
- In your word processor, use the built-in envelope or mailing tool, or set the page size to the envelope size (for example DL or Com 10). Put the return address top left and the delivery address in the centre-right area.
- In the print dialog, choose the same envelope size and the paper type “Envelope”. On many printers the driver then rotates the layout to match how the envelope feeds.
- On the printer, some models ask you to confirm the tray paper size and type after loading. Canon’s manual says the print settings must match the rear tray settings or an error appears.
- Turn off two-sided printing. Envelopes should be printed on one side only, as our double-sided printing guide notes for all special media.
Step 5: Test one, then print the batch
Print a single envelope first. If you do not want to waste one, cut a sheet of plain paper to the envelope size, mark the top edge and the flap side, and test with that. Check that:
- the address is the right way up and not too close to the edge,
- the envelope came out flat and unmarked,
- the ink is dry before you stack it. Inkjet ink on envelope paper can take a moment longer to dry than on plain paper.
Then load the rest. If you have many, print in small batches so a jam ruins one envelope, not ten. If envelopes keep jamming or the printer will not pick them up, flatten them again, load fewer, and check the paper-feed section of your manual. Our paper guide explains weights and coatings.
Printing address labels instead
For a long mailing list, labels are often faster. A label sheet feeds like a page of paper, and one sheet can hold many addresses.
- Match the labels to the printer. Avery’s guidance is to use inkjet labels in inkjet printers and laser labels in laser printers; the package says which.
- Test on plain paper. Print the layout on a plain sheet, hold it behind the label sheet against a light, and adjust until it lines up.
- Print at 100% scale. Turn off “fit to page” so the template lines up with the labels.
- Feed each sheet once. Avery advises against putting a label sheet through the printer more than once, because labels can curl or come loose inside the printer.
- Let ink dry before peeling and sticking.
Most word processors include label templates by product code, and label makers publish templates too.
Save ink on envelopes
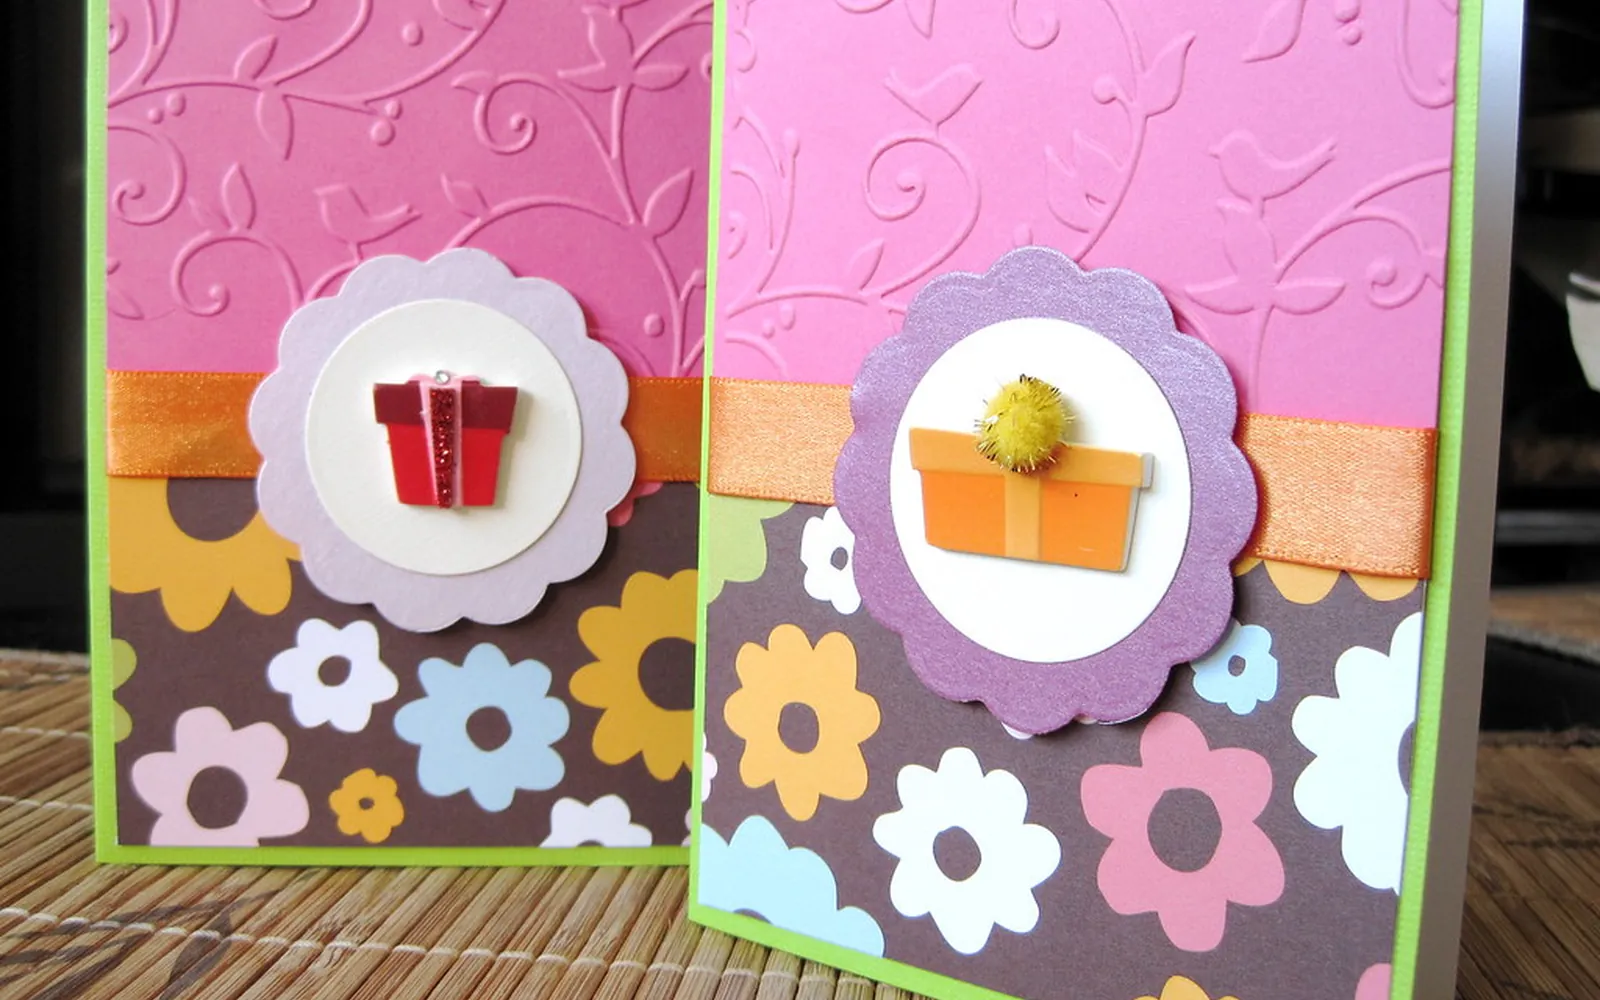
An address is a small amount of text, but colour logos and photos on envelopes add up. Print addresses in black, and if your printer supports it, consider a black-only mode; our guide to printing with only black ink explains what that does and does not save. If you are printing envelopes for cards, our guide to printing greeting cards at home covers card stock and matching envelope sizes.
Printing envelopes from a phone or Chromebook
Phone and Chromebook print dialogs offer fewer layout tools than a desktop word processor. On Android, Mopria says its print service can set paper size and media type, depending on what the printer supports, and on a Chromebook the paper size is under More settings in the print dialog. If your envelope size is not listed, create the envelope as a PDF on a computer, or use a label sheet instead. Our guides to AirPrint vs Mopria and printing from a Chromebook explain those print dialogs.
Quick checklist
- Manual checked for tray, side, flap and count
- Flat, single-flap envelopes the printer supports
- Exact envelope size and type set in document, driver and printer
- Duplex off
- One test, then small batches
Frequently asked questions
Which way do envelopes go in a printer?
It depends on the model. Canon's TR7000 series manual says to load envelopes in portrait orientation, address side up, with the flap folded. An Epson support FAQ for an older model says printable side up, flap down and on the left. Check your manual or the diagram on the tray, then test with one envelope.
How many envelopes can I load at once?
Many home inkjets take about ten envelopes at a time; Canon's TR7000 manual and Epson's FAQ both give ten. Your manual lists the exact limit. Loading fewer often feeds more reliably.
Why does my printer jam on envelopes?
Usually because the envelopes are curled, puffed up, too thick or have a flap that catches. Flatten them, sharpen the leading edge, set the paper guides so they touch but do not squeeze, and use a supported envelope type.
Can a laser printer print envelopes?
Many can, usually from a manual feed slot or multipurpose tray. Use envelopes rated for laser printers, because the fuser heat can reseal or wrinkle unsuitable ones. Check the envelope types in your manual.
Is it easier to print address labels?
For a large batch, often yes. A label sheet feeds like paper. Avery recommends a test print on plain paper first to check alignment, and using labels made for your printer type.
Sources
Editorial team
The Printer Co editorial team researches and writes independent guides to home printers, ink and printing costs, using manufacturer documentation, standards bodies and consumer-protection sources.