Home printers
Connect Printer to WiFi: Every Setup Method Explained
Written by Printer Co editorial team · Updated
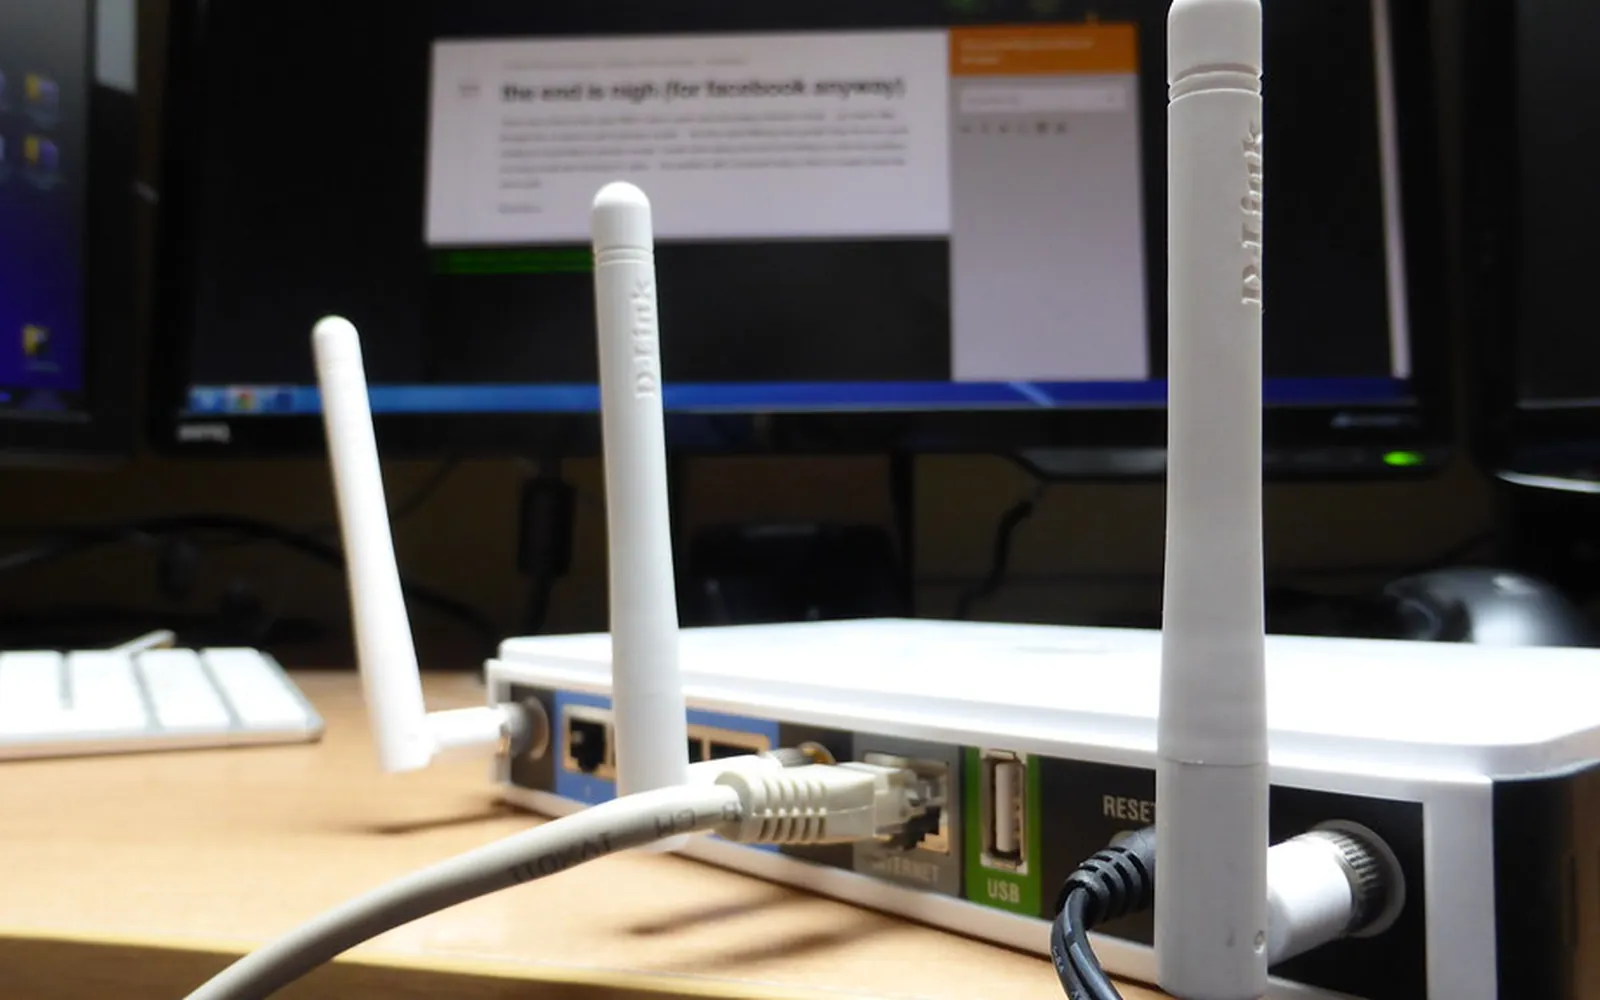
When you need to connect printer to WiFi, the method depends mostly on one thing: whether the printer has a screen. A printer with a display walks you through a setup wizard. One without a screen relies on a button press, the maker’s app or a temporary cable. This guide covers all four routes, the band and router settings that cause most failures, and how to keep the printer connected after the first day.
Menus differ between brands and even between models of the same brand, so treat the menu names below as signposts. The printer’s manual or its online support page will have the exact wording for your model.
Before you start
Five minutes of preparation saves most failed setups:
- Write down the network name and password exactly. Wi-Fi passwords are case-sensitive, and a printer keypad makes typos easy.
- Check which bands the printer supports. Look in the specifications for “2.4 GHz”, “5 GHz” or “dual-band”. Some home printers use only 2.4 GHz. Canon’s troubleshooting guide says plainly that if a printer does not support 5 GHz, the router must have 2.4 GHz enabled.
- Put the printer within reasonable range of the router for the setup. You can move it later once you know it works.
- Use your main network, not the guest network. Guest networks often keep devices apart, which means phones and computers cannot see the printer even when it is connected.
- Switch the printer on and let it finish starting before you begin.
Method 1: the setup wizard on the control panel
This is the most reliable method on printers with a screen.
- Open the wireless, network or Wi-Fi settings on the printer. The option is often called Wireless Setup Wizard or Wi-Fi Setup.
- Wait while the printer scans and lists the networks it can see.
- Choose your network name. If it is missing, the printer may not support that band; see the section on 2.4 and 5 GHz below.
- Type the Wi-Fi password and confirm.
- Wait for the screen to confirm, or for the wireless light to stop blinking and stay steady.
Method 2: WPS push button
Wi-Fi Protected Setup (WPS) is a Wi-Fi Alliance standard designed to make joining a secured home network easier. With the push-button version you never type the password.
- Make sure your router has WPS and that it is enabled. Many routers have a physical WPS button; on others it is a setting in the router’s admin page.
- Start Push Button Setup (WPS) on the printer, or press its Wi-Fi or WPS button as the manual describes.
- Press the WPS button on the router. The two devices must be activated within a short window of each other; the printer’s manual gives the exact time.
- Wait for the printer to confirm the connection.
A security note. WPS also has a PIN method. The CERT Coordination Center published a vulnerability note describing how an attacker within range could brute-force the router’s WPS PIN and recover the Wi-Fi password. The workaround it gives is to disable the PIN feature (sometimes labelled “external registrar” or “router PIN”) in the router’s settings. The push button is the method to use for a printer; if your router lets you turn WPS off entirely after setup, that removes the question.
Method 3: the maker’s app
Most printer makers offer a phone or computer app that sets up the printer for you. Typically you put the printer into setup mode (the manual explains how, often by holding the Wi-Fi button), open the app, and it finds the printer and sends it your network details. This is the easiest route for printers with no screen. Some makers’ apps ask you to create or sign in to an account; read what the app asks for and decide whether you want that. Once the printer is on the network, phones and computers can usually print to it without the app, as our guides to print from an Android phone and print from iPhone explain.
Method 4: USB-assisted setup
Some printers can be set up by connecting them briefly to a computer with a USB cable. The maker’s setup software reads your Wi-Fi details from the computer, sends them to the printer, and then asks you to unplug the cable. It is useful when the printer has no screen and the app cannot find it. Not every model supports this, so check the setup guide for your printer.
A newer option on a few devices is Wi-Fi Easy Connect, another Wi-Fi Alliance standard, which lets you add a device by scanning a QR code. If your printer and router support it, the manual will say so.
2.4 GHz, 5 GHz and band steering
Most home routers broadcast two bands. 2.4 GHz reaches further through walls; 5 GHz is faster at shorter range. A printer sends small amounts of data, so 2.4 GHz is perfectly adequate for printing.
Trouble starts when the router hides the difference. Band steering combines both bands under one network name and moves devices between them. Canon’s troubleshooting guide suggests turning band steering off, and, if both bands share the same name, giving them different names, so the printer can join the band it supports. Some routers add a suffix such as “-5G” to one name; choose the one without it if your printer is 2.4 GHz only.
Router security mode can matter too. The Wi-Fi Alliance now requires WPA3 for Wi-Fi certified devices, but older printers may only support WPA2. If a printer will not join a network set to WPA3 only, check its specifications for supported security; many routers offer a mixed WPA2/WPA3 mode.
Find the printer’s IP address
Every printer can print a network configuration page (also called a network status sheet or network settings report). Look in the printer’s settings, reports or network menu. It shows:
- The network name (SSID) the printer is connected to.
- Its IP address, which you can type into a web browser to open the printer’s built-in settings page on many models.
- Signal strength and the connection status.
If you cannot print the page, open your router’s admin page and look for the printer in its list of connected devices.
Keep the connection stable: DHCP reservation
Your router hands out IP addresses automatically (DHCP), and a printer’s address can change after a power cut or router restart. Most phones and computers find printers by name and cope, but some setups lose track. The cleanest fix is a DHCP reservation: in the router settings, tell it to always give the printer the same address. It is safer than typing a fixed (static) address into the printer, because the router knows the reservation and will not hand that address to another device.
Reconnecting after a router change
A new router, a new internet provider or a changed Wi-Fi password all leave the printer looking for a network that no longer exists. Run the setup wizard, WPS or the app again and choose the new network. If you are replacing a router, giving the new one the same network name and password as the old one lets most devices, printers included, reconnect without any setup.
No router? Use Wi-Fi Direct
Wi-Fi Direct lets devices connect to each other without an access point. On a printer that supports it, you turn it on in the network menu; the printer then shows its own network name and password. Epson’s support page for one model describes the pattern: enable Wi-Fi Direct, set a password, then join the network name on the printer’s screen from your computer or phone. While connected this way, your phone or laptop may not be on the internet, depending on the device.
Secure the printer once it is connected
Once the printer is on your network, spend five minutes on security: set a strong admin password on its built-in web page, run a firmware update and turn on automatic updates if offered, and switch off Wi-Fi Direct and remote printing if you do not use them. If you used the WPS button to connect, consider turning WPS off on the router afterwards. Our checklist for how to secure a home printer walks through each step.
Then check that every device in the house can print: iPhones and iPads through AirPrint, Android phones through Mopria or another print service, and Chromebooks through the built-in printing settings. See AirPrint vs Mopria and printing from a Chromebook.
If the printer still will not connect
- Restart the printer and the router, then try again.
- Move the printer closer to the router for the setup.
- Check that the router’s 2.4 GHz band is switched on.
- Turn off client isolation or the guest network feature for the network the printer uses.
- Update the printer’s firmware from the maker’s support site, or through the printer’s own update menu.
- Print the network configuration page and compare the network name with the one on your phone.
Once the printer is on the network, you rarely need to install drivers; see do I need printer drivers. If you are still choosing a printer, the Wi-Fi features worth checking are listed in best printer for home use.
Frequently asked questions
How do I connect my printer to Wi-Fi?
On a printer with a screen, open the wireless or network menu, run the Wireless Setup Wizard, choose your network name and type the Wi-Fi password. On a printer without a screen, use WPS push button setup or the printer maker's app.
Why won't my printer connect to 5 GHz Wi-Fi?
Some printers support only the 2.4 GHz band. Check the printer's specifications for 5 GHz or dual-band support. If it is 2.4 GHz only, make sure the router has 2.4 GHz switched on, and if both bands share one name, consider giving them separate names.
Is WPS safe to use for a printer?
The push-button method is convenient and only works for a short window after you press the button. The PIN method has a known weakness that lets an attacker in range recover the Wi-Fi password, so it is sensible to disable WPS PIN in the router settings.
How do I find my printer's IP address?
Print a network configuration or network status page from the printer's settings or reports menu. The IP address is listed there. You can also look for the printer in the router's list of connected devices.
My printer stopped working after I changed my router. What do I do?
The printer is still looking for the old network. Run its wireless setup again and choose the new network name and password. If you gave the new router the same name and password as the old one, it may reconnect on its own.
Can I use a wireless printer without a router?
Yes, if it supports Wi-Fi Direct. Turn Wi-Fi Direct on in the printer's network menu, then join the network name it shows from your phone or computer using the password on the printer's screen.
Sources
- Canon IJ manual: Cannot Find Printer on Network (2.4/5 GHz, band steering, SSID)
- Epson support: connecting by Wi-Fi Direct without a router (WF-2650 example)
- Wi-Fi Alliance: Wi-Fi Protected Setup and Wi-Fi Easy Connect
- Wi-Fi Alliance: Wi-Fi Direct and device-to-device connections
- Wi-Fi Alliance: Wi-Fi security and WPA3
- CERT/CC Vulnerability Note VU#723755: WPS PIN brute-force weakness
Editorial team
The Printer Co editorial team researches and writes independent guides to home printers, ink and printing costs, using manufacturer documentation, standards bodies and consumer-protection sources.