Home printers
How to Scan Old Photos at Home: Resolution, Files, Backups
Written by Printer Co editorial team · Updated
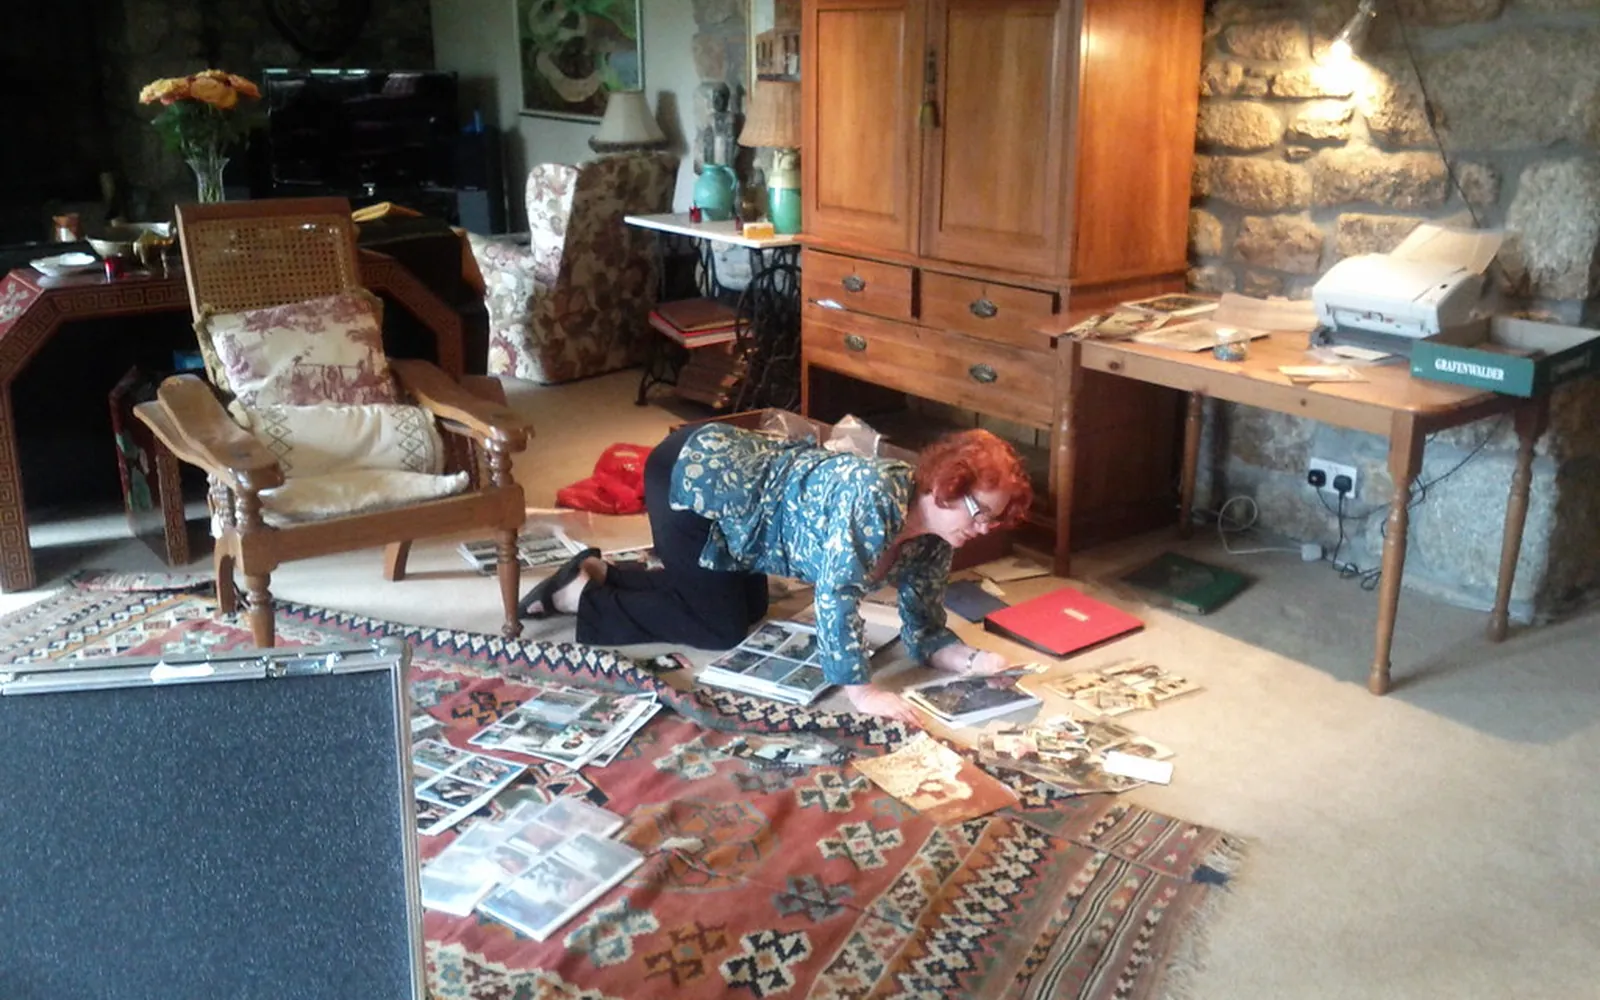
Shoeboxes and albums of prints fade, curl and get lost in house moves, and often only one copy of a picture exists. Learning how to scan old photos at home is the simplest way to protect them and share them with family. You do not need special equipment: the flatbed scanner in most all-in-one printers does a good job if you choose the right settings, handle the prints carefully, and look after the files once they exist.
Flatbed, phone or scanning service?
A flatbed scanner is the best home option for loose prints. The photo lies flat, the light is even, and there is no glare from a glossy surface. The scanner under the lid of an all-in-one printer is a proper flatbed; if you are deciding whether one is worth having, see is an all-in-one printer worth it.
A phone scanning app is quicker and handy for photos glued into albums, framed pictures, or prints you find at a relative’s house. Results depend on light and on holding the phone square; glossy prints often reflect a lamp or window.
A scanning service makes sense for very large collections, slides and negatives. The Library of Congress mentions sending items out as an alternative to scanning them yourself.
For most families, the practical answer is a flatbed for the prints that matter most and a phone for everything else.
Choose what to scan first
The Library of Congress’s advice for personal photo collections starts with choices, not settings: decide which photos are most important, and if there are several versions of the same picture, keep the best one. Scanning takes time, so begin with:
- photos of which only one print exists;
- people and places nobody else has pictures of;
- prints that are already fading, cracking or curling.
Keep each envelope, album page or box together as you scan, and jot down anything written on the back before it gets separated.
Prepare the prints and the scanner
- Clean the glass. The Library of Congress tells you to make sure the scanner glass is free of dirt, smudges or particles. Wipe it with a soft, dry, lint-free cloth; every speck shows up at photo resolution.
- Handle prints by the edges. Fingerprints on the surface of a photo can be permanent. Clean, dry hands, or cotton gloves, help.
- Remove clips, staples and tape where it is safe. The Library’s guidance says to remove these and loose dirt only as far as you can without damaging the photo.
- Do not force anything. A tightly curled print or a photo stuck to an album page or another photo can tear or crack. Scan it as it is, photograph it, or ask a conservator.
The right scan settings
| Original | Colour mode | Resolution | Save as |
|---|---|---|---|
| Standard colour print, 4x6 or 5x7 inches | Colour | 300 dpi | High-quality JPEG (or TIFF master) |
| Print you want to enlarge to 8x10 or bigger | Colour | 400 to 600 dpi | High-quality JPEG or TIFF |
| Black-and-white print | Greyscale (or colour for toned prints) | 300 to 600 dpi | JPEG or TIFF |
| Small wallet or contact print | Colour | 600 dpi | High-quality JPEG or TIFF |
| Slides | Colour | About 1900 dpi | JPEG or TIFF |
The 300 dpi figure for standard prints and the 400 to 600 dpi range for enlargements come from the Library of Congress guidance, as does the figure for slides. Higher resolution captures more detail but makes much bigger files; for ordinary prints there is little to gain above 600 dpi. Our guide to printer dpi explains how scan resolution relates to the size you can reprint at.
Colour or greyscale? Greyscale suits black-and-white photographs. Old prints with a sepia or other tone often look better scanned in colour, which keeps the warmth; you can always convert a copy to greyscale later.
Turn off “auto” fixes for the master. Many scanning apps sharpen, boost colour or remove dust automatically. That can be useful for sharing, but for your master copy it is safer to scan plainly and make edited copies separately.
Scanning step by step
- Open the printer’s scanning app or your computer’s scanner software and choose a photo or colour mode, not a document or PDF mode.
- Place the photo face down on the glass. Canon’s manual for its TS3300 series, a typical home all-in-one, says to align the original with the alignment mark and then close the document cover.
- Leave a little space between prints if you scan several at once; many apps can split them into separate files, but results vary.
- Preview, crop to the photo’s edge and check it is straight.
- Scan and open the file at 100% zoom to check focus, dust and colour before moving on.
For the basics of the scanning software itself, our guide to how to scan documents at home walks through Windows, Mac and phone apps.
JPEG or TIFF?
The Library of Congress suggests medium-quality JPEG for colour photos you just want to keep and view, and high-quality JPEG if you may want to reprint them, including enlargements. TIFF files are much larger but are not recompressed every time you save them. A sensible home approach:
- scan your most precious photos once as TIFF (or the highest-quality JPEG) and keep that as a master you never edit;
- make JPEG copies for sharing, editing and printing.
Name, describe and organise
A folder of files called IMG_0001 loses most of the family history. The Library of Congress recommends descriptive file names, tags with people’s names and subjects, and a short note describing how the folders are organised. Its scanning guide gives a date-based pattern, for example:
- Family / Grandparents wedding / 19620914-wedding-001.jpg
Write down who is in each picture while the people who know are still around to ask. Many photo apps let you add names and captions inside the file, which travel with it when you share it.
Make copies and keep them safe
Scanning only protects photos if the files survive. The Library of Congress recommends:
- at least two copies, one on your computer and others on separate media such as an external drive or online storage;
- keeping copies in different places, as far apart as practical;
- checking the files at least once a year;
- moving them to new storage every five years or so.
Keep the original prints too, stored flat, cool and dry, away from sunlight.
Printing the scans
Once old photos are digital, you can reprint them, enlarge them or make copies for relatives. For the best results, print on photo paper with the matching paper setting; our guides to photo printing at home and printing borderless photos cover paper, settings and inks. If a reprint is meant to last for decades, the pigment vs dye ink guide explains which inks hold up better.
Frequently asked questions
What resolution should I scan old photos at?
The Library of Congress's personal archiving guidance suggests 300 dpi for standard 4x6 and 5x7 prints, and 400 or 600 dpi if you want to enlarge them to 8x10 inches or more. Small prints and wallet photos benefit from 600 dpi. Slides and negatives need much higher resolution, around 1900 dpi or more.
Should I save scanned photos as JPEG or TIFF?
The Library of Congress suggests medium-quality JPEG for colour photos you only want to view, and high-quality JPEG if you may reprint them. TIFF files are larger but are not recompressed each time you save, so many people keep a TIFF master and make JPEG copies to share.
Can I scan photos with my all-in-one printer?
Yes. The flatbed under the lid of an all-in-one printer is a proper scanner. Use the photo or colour mode in the printer's app or your computer's scanning software rather than the document mode, which may compress the image heavily or save it as a PDF.
Is it better to scan photos or photograph them with a phone?
A flatbed usually gives sharper, flatter and more evenly lit results without glare, especially for glossy prints. Phone scanning apps are quicker and fine for sharing, and they are useful for photos stuck in albums that you should not remove.
How do I keep scanned photos safe?
The Library of Congress recommends at least two copies stored in different places, checking them at least once a year, and moving them to new storage every five years or so to avoid data loss.
Sources
Editorial team
The Printer Co editorial team researches and writes independent guides to home printers, ink and printing costs, using manufacturer documentation, standards bodies and consumer-protection sources.