Home printers
How to Print Iron-On Transfers at Home with an Inkjet
Written by Printer Co editorial team · Updated
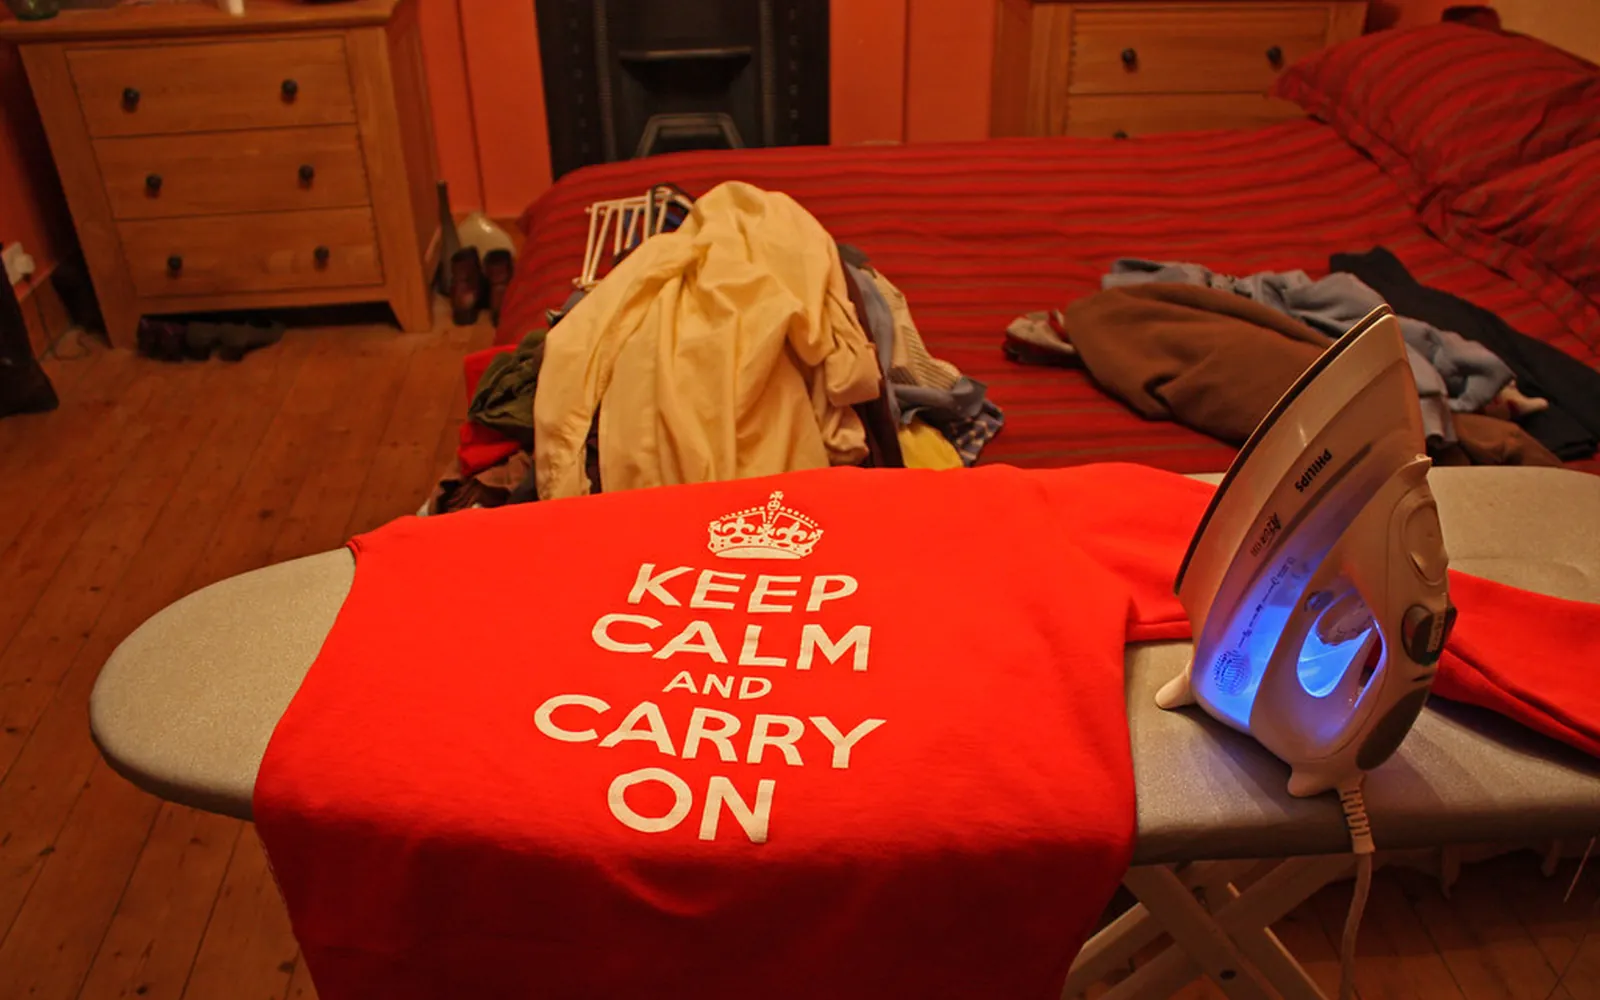
Team shirts, a birthday t-shirt, a printed tote bag or a one-off costume: knowing how to print iron-on transfers lets you make them with a home inkjet printer and a household iron. The process is simple, but two details decide whether the result looks good: printing the image the right way round, and applying enough heat and pressure. This guide covers both, with the practical figures that transfer paper makers publish.
What you need
- Iron-on transfer paper for your fabric colour (light or dark) and your printer.
- An inkjet printer. Most home transfer papers are inkjet products. Avery states that its fabric transfers will not work with a laser printer.
- A household iron without water in it, or a heat press.
- A firm, heat-resistant surface such as a sturdy table protected with a cotton pillowcase. Avery advises against a padded ironing board because it absorbs the pressure.
- A cotton or cotton-blend garment, washed beforehand without fabric softener if the transfer instructions ask for it.
- Scissors to trim around the design.
Light or dark transfer paper
This is the first choice, and it changes how you print.
Transfers for light fabrics
Light-fabric paper has a clear coating that carries the ink. You place the sheet face down on the garment and iron through the backing. Because the image is flipped as it goes on, it must be printed as a mirror image. Light transfers are partly transparent, so they look best on white or pale fabric, and white areas of your design simply show the fabric colour.
Transfers for dark fabrics
Dark-fabric paper has an opaque white base. You peel the backing first and place the transfer face up, so no mirroring is needed: Avery says no flipping of the printed image is necessary with its dark fabric transfers. The white base means colours show on black or coloured fabric, but you will see the white around the design, so trim close to the edge.
Step 1: prepare the design
- Size it for the garment. Measure the area on the shirt and set the design to that size. Print at 100% scale; our guide on fit to page vs actual size explains why scaling can surprise you.
- Use a sharp image. Low-resolution pictures look blocky when enlarged. Our guide on printer dpi explains what resolution you need.
- Fit several small designs on one sheet if you are making badges or small motifs, leaving room to cut between them.
Step 2: mirror the image (light fabrics only)
You can flip the image in your design software or with a mirror or reverse image option in the printer driver’s properties or preferences. Avery notes that its own online design tool flips light transfers automatically. Whatever you use, make sure you flip it once, not twice.
The easy check: print on plain paper first. Text should read backwards on the test page. Hold it up to a window from the back and it should read correctly.
Step 3: print the transfer
- Load one transfer sheet at a time, printable side facing the way your printer prints. If you are not sure, mark a plain sheet and print a test.
- Choose a high quality setting. Some printers offer an iron-on or transfer paper type; otherwise follow the pack’s recommendation.
- Print and let the ink dry before handling.
- Trim around the design. For light transfers, leaving a small margin is fine; for dark transfers trim close because the white base shows.
Ink makes a difference to durability. Pigment and dye inks both work on transfer paper, but they behave differently over time; our pigment vs dye ink guide explains the difference.
Step 4: iron it on
Avery’s instructions are a good illustration of what most transfer papers need:
- Set the iron to the highest cotton setting, preheat it for about 5 minutes, and make sure there is no water and no steam.
- Press the garment first to remove creases.
- Place the transfer, face down for light paper, face up for dark paper (usually under the ironing sheet supplied).
- Use firm pressure and slow, overlapping passes so the whole design gets heat. Avery’s figures for a full page are about 3 minutes, with shorter times for half and quarter pages.
Times and temperatures differ between brands, so always follow the figures on your own pack. A heat press gives more even heat and pressure than a household iron, and Avery suggests one for longer-lasting results.
Step 5: cool and peel
Let the transfer cool before peeling. Avery says to allow the garment to cool for about 2 minutes before peeling away the backing or ironing sheet. If an edge lifts as you peel, lay the backing back down, iron that spot again briefly, let it cool and try again.
Washing and care
Transfer makers publish their own care instructions, and following them is usually a condition of any guarantee. Common advice is to wait before the first wash, wash inside out in cool water and avoid ironing directly on the design. Check your pack for the exact steps.
Planning a batch of shirts
Making shirts for a team, a family reunion or a school event is where a little planning pays off.
- Do one complete test shirt first, ideally on an old garment of the same fabric. It shows you whether the size, position and colours work before you use a whole pack of transfer paper.
- Mark the position on every shirt the same way, for example a set distance below the collar seam, measured with a ruler, so the designs line up when people stand together.
- Group shirts by colour: light shirts take light transfer paper with mirrored prints, dark shirts take dark paper without mirroring. Mixing them up is the most common batch mistake, so label the printed sheets as you go.
- Print names separately if each shirt has a different name. Put the shared design on one sheet layout and the names on another, so a typo costs one small piece rather than a full sheet.
- Allow time: each full-size transfer needs preheating, several minutes of pressing and a cooling period. A batch of shirts is an afternoon’s job with a household iron.
If you plan to make shirts often, the cost of transfer sheets and ink adds up; our guide to printer cost per page explains how to estimate ink use for colour-heavy pages.
Troubleshooting
- Text is backwards: a light transfer was not mirrored, or a dark transfer was mirrored by mistake.
- Patchy or faded image: not enough heat or pressure, a padded board, or steam.
- Cracking after washing: too little pressure, too hot a wash or tumble drying; follow the care instructions.
- Smudged print: the sheet was handled before the ink dried, or the wrong paper type was selected.
- Paper jammed or creased in the printer: feed one sheet at a time, from the rear or manual slot if your printer has one.
Planning a set of matching cards or gift tags as well? Our guides to printing greeting cards and printing stickers at home use the same test-first approach.
Frequently asked questions
Do I need to mirror an iron-on transfer?
For transfers meant for light fabrics, yes: they go on face down, so the printed image must be reversed or text will read backwards. Avery says no flipping is needed for its dark fabric transfers, which are applied face up. Always check the instructions for your paper.
Can I print iron-on transfers with a laser printer?
Not with inkjet transfer paper. Avery states that its fabric transfers will not work with a laser printer. Laser-specific transfer papers exist, but use only paper the maker says is laser-compatible, because a laser fuses toner with heat.
How long do I iron an iron-on transfer?
It depends on the paper and the size of the image. Avery's instructions, for example, give about 3 minutes for a full page of light or dark transfer, less for half and quarter pages, with a preheated dry iron on the highest cotton setting. Follow the times printed on your pack.
Why is my iron-on transfer peeling or cracking?
Common causes are too little heat or pressure, a padded ironing board that absorbs the pressure, steam, peeling before the transfer cooled, or washing too soon or too hot. Re-press any lifting spots following the maker's instructions.
What fabrics work with iron-on transfers?
Cotton and cotton blends such as t-shirts, sweatshirts, tote bags and aprons are the usual choice. Stretchy fabrics need stretchable transfer paper. Never iron a transfer onto paper or materials that cannot take high heat.
Sources
Editorial team
The Printer Co editorial team researches and writes independent guides to home printers, ink and printing costs, using manufacturer documentation, standards bodies and consumer-protection sources.