Home printers
How to Print on Cardstock at Home: Weight, Tray and Settings
Written by Printer Co editorial team · Updated
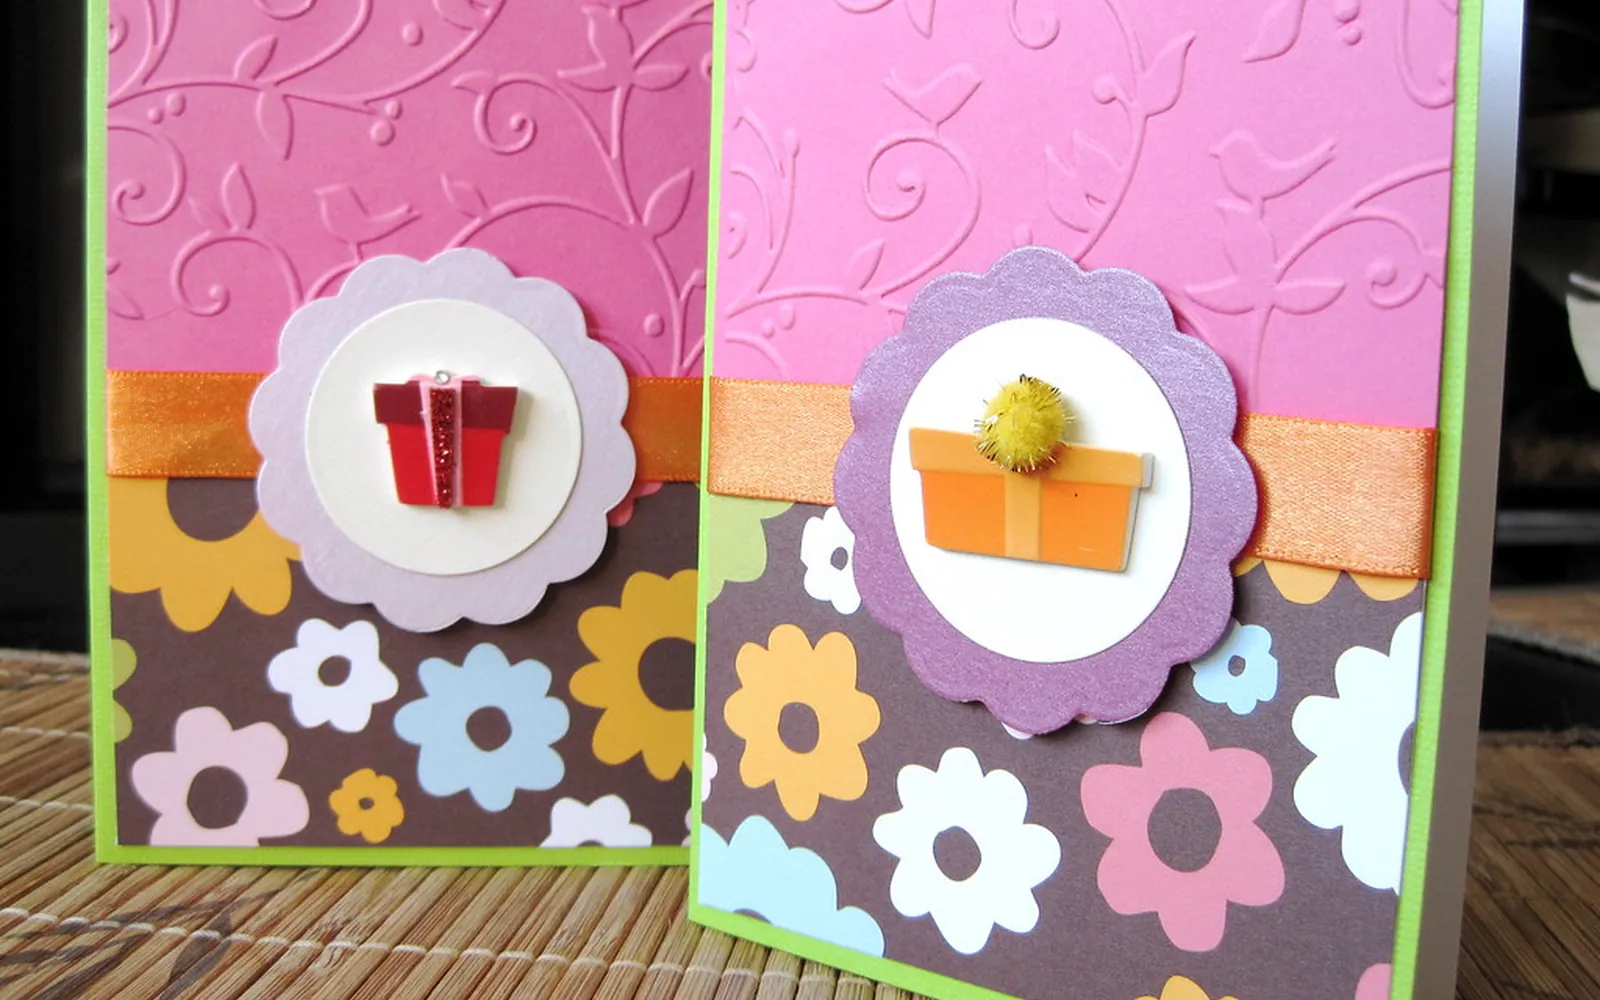
Knowing how to print on cardstock at home saves both card and frustration. Invitations, place cards, recipe cards, game boards and greeting cards all look better on thick paper, but card is stiffer than ordinary paper, and many home printers have limits on what they can feed. This guide shows how to check what your printer accepts, how to read cardstock weights, which tray and settings to use, and how to avoid the usual problems: jams, smudges, scuff marks and cracked folds.
Step 1: check what your printer accepts
Every printer’s specification lists the paper weights it supports, and the limit is often different for each tray. Look in the user manual, on the maker’s specification page, or in the “media” or “paper handling” section of the spec sheet. You will usually see something like a range in g/m², sometimes with the equivalent in pounds.
A few points to look for:
- Different trays, different limits. A front cassette may accept only plain-paper weights, while a rear feed or manual slot accepts heavier media.
- Branded vs other papers. Some makers list higher weights for their own card or photo paper than for “non-branded” paper.
- Laser printers often list heavy media for a specific tray. HP’s knowledge base, for example, describes one model whose Tray 1 is designed for card between 163 and 200 g/m².
If your card is heavier than the maximum listed for any tray, use a lighter card or ask a print shop. Forcing thick card through can damage the rollers.
Step 2: understand cardstock weights
Cardstock weight is one of the most confusing parts of buying paper. In the US, card is usually sold by cover weight in pounds, which is measured differently from the text or bond weight used for ordinary printer paper. That is why 65 lb cardstock is much thicker than 24 lb copy paper. Outside the US, weights are given in grams per square metre (g/m² or gsm), which is simpler to compare.
Common US cover weights and their approximate metric equivalents:
| US cover weight | Approximate g/m² | How it feels |
|---|---|---|
| 65 lb cover | about 176 | Light card, bends easily |
| 80 lb cover | about 216 | Medium card, typical for cards and invitations |
| 100 lb cover | about 270 | Heavy card |
| 110 lb cover | about 298 | Very stiff card |
Compare the g/m² of the card with the g/m² limit in your printer’s specification. Our guide to the best paper for your home printer explains weights and finishes in more depth.
Step 3: choose the right tray
The shape of the paper path matters. Card bends badly. Printers that pull paper from a front cassette and turn it through a tight curve can curl or mark thick card, and may not pick it up at all. A rear or top feed slot, or a manual feed tray, usually gives a straighter path. The Paper Mill Store’s printing guide makes the same point: rear-feed and top-loading printers are generally better for card, and hand-feeding one sheet at a time helps with thicker stock.
When loading:
- Load one sheet at a time at first, even if the tray holds more.
- Set the paper guides so they touch the edges without bending the sheet.
- Follow the orientation icon on the tray for which side faces up and which edge goes in first.
- Fan the sheets gently before loading if you use a small stack, so they do not stick together.
Step 4: set the driver correctly
The paper type setting tells the printer how to handle the sheet. On an inkjet it changes how much ink is laid down and how fast; on a laser it can change fuser temperature and speed. In the print dialog, open the printer’s properties or preferences and set:
- Paper size to match your card exactly.
- Paper type to the closest match: HP lists options such as Cardstock, Heavy or Extra Heavy; other brands may call it Matte Photo Paper, Thick Paper or Heavyweight.
- Paper source to the rear or manual tray, if you are using one.
- Quality to Normal or Best for artwork. HP suggests a lower resolution on some models if heavy ink coverage causes smudges or curl.
If the card is coated or glossy, choose the matching photo paper type; if it is uncoated, a plain or matte setting usually works better than glossy. For documents that must print at exact size, such as place cards or templates, check that scaling is off; see fit to page vs actual size.
Step 5: test, print and dry
Print a test page on plain paper first to check layout, then one sheet of card. Look at the back for roller marks and at the front for smudges before printing the rest.
- Inkjet prints need time to dry, especially on coated card. Lay them flat and do not stack them straight away.
- Laser prints come out warm and dry, but can curl slightly; let them cool flat.
- Two-sided printing: print one side, let it dry, then turn the sheet and feed it again by hand. HP advises turning off automatic duplex printing for heavy card, because the duplex path bends the sheet. Our guide to printing double-sided shows how to work out which way to turn the sheet.
Folding without cracks
Thick card cracks along the fold, particularly where the print covers the fold line with dark ink or toner. Score it first: lay a ruler along the fold line and press a line with a bone folder, an empty ballpoint pen or the back of a butter knife, then fold along the scored line. Fold with the print on the outside of the fold. For folded card layouts, see print greeting cards at home.
Common problems and fixes
| Problem | Likely cause | Fix |
|---|---|---|
| Printer will not pick up the card | Too heavy or stiff for that tray | Use the rear or manual feed, one sheet at a time, or a lighter card |
| Card jams halfway | Paper path bends too much, or duplex is on | Use a straighter feed path and print one side at a time |
| Smudged ink | Wrong paper type, too much ink, not dry | Select the matching paper type, lower quality, let it dry flat |
| Roller marks on the print | Card too thick or rollers dirty | Use a lighter card and clean the rollers as the manual describes |
| Toner rubs off (laser) | Paper type set to plain | Set Heavy or Cardstock so the fuser runs hotter or slower |
| Print is off-centre | Guides loose, or scaling on | Adjust guides and print at actual size |
Inkjet or laser for cardstock?
Both can work within their specifications. Inkjets handle a wide range of coated and matte card and give rich colour, which suits invitations and photo cards. Lasers produce quick, dry, smudge-proof prints on uncoated card, but heavy card must be within the fuser’s range. If you are choosing a printer with card in mind, check the maximum media weight and whether it has a rear or manual feed; our laser vs inkjet printer for home comparison covers the other differences.
For sticky-backed projects, the same paper-path advice applies; see how to print stickers at home.
Frequently asked questions
Can a regular home printer print on cardstock?
Many can print on light cardstock, but not every printer or tray takes heavy card. Check the paper weight range in your printer's specification or manual. If your cardstock is heavier than the maximum listed, the printer may jam, refuse to feed it or mark it with the rollers.
What setting should I use to print on cardstock?
Choose the paper type that matches your card in the print dialog. HP drivers offer options such as Cardstock, Heavy or Extra Heavy; other brands may list Matte Photo Paper, Thick Paper or Heavyweight. Also set the correct paper size and, if your printer has one, select the rear or manual feed tray.
What weight of cardstock works in a home printer?
It depends on the model. Light cardstock around 65 lb cover (about 176 g/m²) is the most widely accepted. Heavier card such as 110 lb cover (about 298 g/m²) needs a printer whose specification lists that weight. Always check the maximum for the tray you plan to use.
Why won't my printer pick up cardstock?
The card may be heavier or stiffer than the tray supports, the stack may be too high, or the rollers may be dusty. Try one sheet at a time through the rear or manual feed, make sure the guides touch the edges lightly, and clean the rollers as the manual describes.
Can I print double-sided on cardstock?
It is safer to print one side, let it dry, then turn the sheet over and feed it again by hand. Automatic duplex units bend the paper and may jam with thick card; HP advises turning off automatic two-sided printing for heavy cardstock.
Sources
Editorial team
The Printer Co editorial team researches and writes independent guides to home printers, ink and printing costs, using manufacturer documentation, standards bodies and consumer-protection sources.