Home printers
How to Print a QR Code That Scans Every Time at Home
Written by Printer Co editorial team · Updated
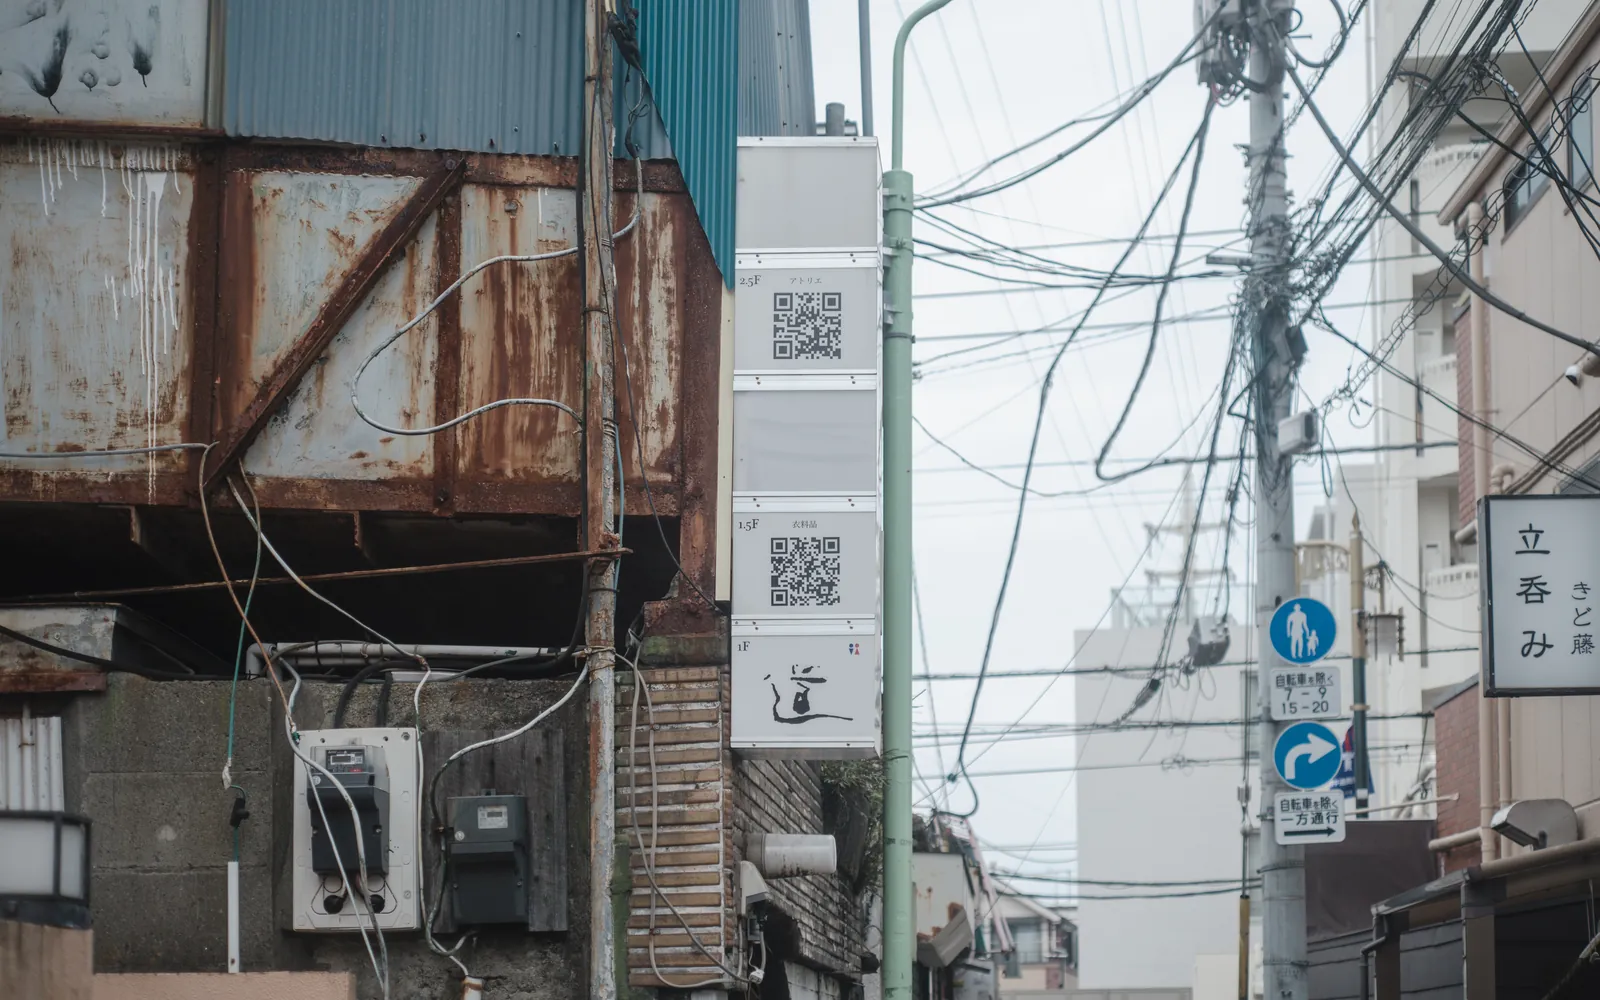
QR codes turn up on party invitations, menus, school notices, garage sale signs and the back of business cards. Making one takes seconds; making one that scans reliably from paper takes a little more thought. This guide explains how to print a QR code on a home printer so that phones read it first time, using the size and margin rules published by Denso Wave, the company that developed the QR code.
How a QR code is built (the short version)
A QR code is a grid of small dark and light squares called modules. The more information you encode, the more modules the code needs: a short link gives a coarse grid, a long link or a block of text gives a dense one. Codes come in numbered versions, from small grids to very large ones.
When you print, the code’s physical width is shared between all those modules. So at a fixed printed size:
- more data = more modules = smaller modules, which are harder for a camera to resolve;
- less data = fewer modules = bigger modules, which scan from further away and survive slightly blurry printing.
That is why the first tip is about the content, not the printer.
Step 1: keep the content short
Encode the shortest thing that does the job. A short web address produces a simpler code than a long tracking link with many parameters. If you control the destination, a short, clean page address is better than pasting a long URL. Do not put a full paragraph of text into a code that will be printed small.
Step 2: choose the error correction level
QR codes contain extra data that lets a reader recover from dirt or damage. Denso Wave describes four levels, L, M, Q and H. Level M recovers about 15% of the data and, in Denso Wave’s words, is the one most frequently selected. Level Q recovers about 25%, and L and H sit below and above those. Higher levels make the code more robust but add data, so the grid gets denser or the code larger.
For paper at home, M is a good default. Choose Q or H for codes that will be handled, folded or stuck outdoors.
Step 3: export a clean file
Ask your QR generator for a vector format (SVG or PDF) if it offers one; vectors stay sharp at any size. Otherwise download a large PNG and scale it down, never up. Avoid JPEG, which can blur the edges of the modules, and never stretch the code to a non-square shape.
Step 4: keep the quiet zone
Denso Wave says a QR code requires a margin four modules wide on all sides. This blank border tells the scanner where the code starts and ends. Cropping it to save space, placing the code against a photo, or letting a border line or text run into it is the single most common reason printed codes fail.
When you place the code in Word, Google Docs or a design app, leave clear white space around it, at least as wide as four of the small squares. More is fine.
Step 5: choose the size
Denso Wave’s sizing example works like this: at 400 dpi with four printer dots per module, each module is 0.254 mm. A version 3 code is 29 modules wide, so the symbol is about 7.4 mm, and with the four-module margin on each side the area needed is a square about 9.4 mm wide. That shows how small a code can be on a precise, high-resolution printer read at close range.
Real life is less forgiving. Home inkjets spread ink slightly, people scan from arm’s length or across a room, and phone cameras vary. Practical guidance:
- Size the code for the scanning distance: a code on a business card is read up close, a code on a poster is read from a step or two away and needs to be much larger.
- If you must print small, make the content shorter rather than packing a dense code into a tiny square.
- When in doubt, print a few sizes on one test page and see which scan comfortably.
If you are new to how printer resolution translates into physical detail, our guide to printer dpi explains it.
Step 6: contrast, colour and paper
- Dark on light. Black modules on white paper are the safest choice. Colours work if the modules are clearly darker than the background; pale yellows, light greys and low-contrast colour pairs can fail.
- Avoid inverted codes (light modules on dark backgrounds) unless you have tested them with several phones; some readers cannot decode them.
- Plain background. Do not print a code over a photo or pattern.
- Matte paper. Glossy photo paper and laminated cards can reflect light into the camera. Matte or plain paper avoids glare. Our best paper for a home printer guide compares finishes.
- Solid black ink. Faded or streaky black breaks up the modules. If your black is patchy, check the nozzles first.
Step 7: print at actual size
Print at 100% scale or actual size, not fit to page, so the size you designed is the size you get. Our guide on fit to page vs actual size explains the difference. Use a normal or high quality setting rather than draft.
If you are making several codes, for example for labels or table cards, a label sheet works well; see how to print labels in Word, or the sticker guide for codes that will be stuck on objects.
Step 8: test before printing a batch
Scan the printed test with at least two or three different phones, including an older one, at the distance people will actually use. Check that the code opens the right page and that the page works on a phone. Only then print the full run.
Where to put the code on the page
- Add a short instruction next to the code, such as “Scan to see the menu”, so people know what they will get.
- Print the address as text too if it is short, for anyone whose phone will not scan.
- Keep it flat. Codes wrapped around a curved bottle or folded across a crease are harder to read; place them on a flat part of the item.
- Mind the lighting. A code on a wall above eye level, or behind glass, can catch reflections; test it where it will actually be used.
Troubleshooting a code that will not scan
- Nothing happens: check the quiet zone and contrast first.
- Works close up but not from further away: print it larger or shorten the content.
- Works on one phone only: improve contrast, switch to matte paper, or increase size.
- Opens the wrong page: regenerate the code; a QR code cannot be edited once printed unless the link it points to can be changed.
A note on safety
A printed QR code is a link that people cannot read before they open it. Point it only at pages you control or trust, and check the destination yourself after printing.
Frequently asked questions
What is the quiet zone on a QR code?
It is the blank margin around the code. Denso Wave, the company that developed the QR code, says a QR code requires a margin four modules wide on all sides, where a module is one of the small squares that make up the code.
How small can I print a QR code?
It depends on how much data it holds and the printer's resolution. Denso Wave's worked example, a version 3 code at 0.254 mm per module, needs a square about 9.4 mm wide including the margin, but that assumes a high-resolution printer and close scanning. For flyers and signs, print much larger and test.
Why won't my printed QR code scan?
The usual causes are a cropped quiet zone, a code printed too small for the distance, low contrast (light colours or faint ink), glare from glossy paper, a blurry or stretched image, or too much data packed into the code. Fix one at a time and test again.
Can a QR code be printed in colour?
Yes, as long as the modules are clearly darker than the background. Very light colours, low-contrast pairs and inverted codes (light modules on a dark background) are harder or impossible for some scanner apps to read.
Which error correction level should I choose?
Level M (15%) is the most commonly chosen. Denso Wave suggests higher levels such as Q or H where codes may get dirty or damaged, but higher levels add data and make the code larger, so use them only when you need them.
Sources
Editorial team
The Printer Co editorial team researches and writes independent guides to home printers, ink and printing costs, using manufacturer documentation, standards bodies and consumer-protection sources.