Setting Up My Epson Printer
Setting up an Epson printer is generally straightforward. Below is a detailed, step-by-step guide to setting up your Epson printer:
1. Unboxing and Initial Setup:
- Unbox the Printer: Carefully remove the printer from its packaging, ensuring you have all included components.
- Remove Packaging Materials: Remove any tapes, stickers, or protective materials from the printer.
- Connect Power: Plug in the power cord to the printer and an electrical outlet. Turn on the printer using the power button, if applicable.
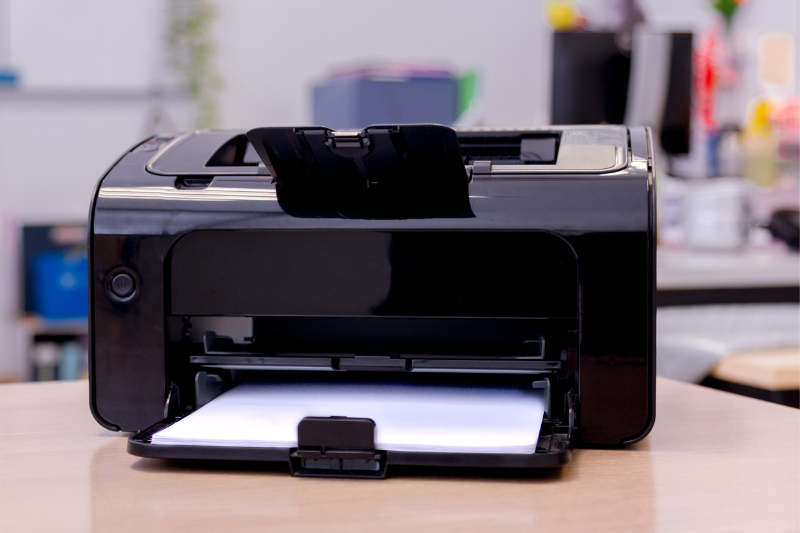
2. Loading Paper:

- Adjust Paper Guides: Open the paper tray and adjust the paper guides to fit the size of the paper you're using (e.g., letter, A4).
- Load Paper: Place a stack of paper into the paper tray, making sure it fits snugly against the guides. Close the paper tray.
3. Installing Ink Cartridges:

- Open Ink Cartridge Compartment: Lift the scanner unit or open the ink cartridge compartment door, depending on your printer model.
- Install Ink Cartridges: Unpack the ink cartridges provided with your printer. Remove the protective film or tape from each cartridge. Insert the cartridges into their corresponding slots, ensuring they click into place.
- Close Compartment: Close the scanner unit or ink cartridge compartment door.
4. Connecting to Wi-Fi (Wireless Models):
- Access Control Panel: Use the printer's control panel to navigate to the Wi-Fi setup menu. This may be labeled as "Network Settings" or similar.
- Select Wi-Fi Network: Choose your Wi-Fi network from the list of available networks. Enter your Wi-Fi password if prompted.
- Complete Setup: Follow the on-screen prompts to complete the Wi-Fi setup process. Your printer should now be connected to your Wi-Fi network.
5. Connecting via USB (USB Models):
- Connect USB Cable: Use the USB cable provided with your printer to connect it to your computer. Plug one end of the cable into the printer's USB port and the other end into a USB port on your computer.
- Install Printer Software: Your computer may automatically detect the printer and begin installing necessary drivers. If not, you may need to download and install the printer software from the Epson website.
6. Testing:
- Print Test Page: Once the setup is complete, print a test page to ensure the printer is functioning correctly.
7. Additional Steps (Optional):
- Install Printer Software: Install any additional software or apps provided by Epson for added functionality, such as scanning or mobile printing.
- Register Your Printer: Consider registering your printer with Epson for product updates and support.
Troubleshooting Guides:
- Power and Connection Issues:
- Check Power Connection: Ensure that the printer is properly plugged into a power source and turned on. Verify that the power indicator light is illuminated.
- Confirm Connection: If using a wired connection, ensure that the USB or Ethernet cable is securely connected to both the printer and the computer/router.
- Printer Setup Errors:
- Review Setup Steps: Double-check that you followed all setup steps outlined in the printer's manual or setup guide.
- Restart Setup: If encountering errors, restart the setup process from the beginning to see if the issue resolves.
- Wi-Fi Connectivity Problems:
- Reconnect Wi-Fi: If setting up a wireless printer, ensure that the printer is connected to the correct Wi-Fi network. Navigate to the printer's settings menu to reconnect if necessary.
- Check Router Settings: Verify that your router settings, such as network name (SSID) and password, are correct. Update settings on the printer if needed.
- Ink Cartridge Issues:
- Verify Installation: Ensure that the ink cartridges are installed correctly and securely. Check for any protective tape or packaging that may still be attached to the cartridges.
- Replace Cartridges: If the printer displays an error related to ink cartridges, consider replacing them with genuine Epson cartridges.