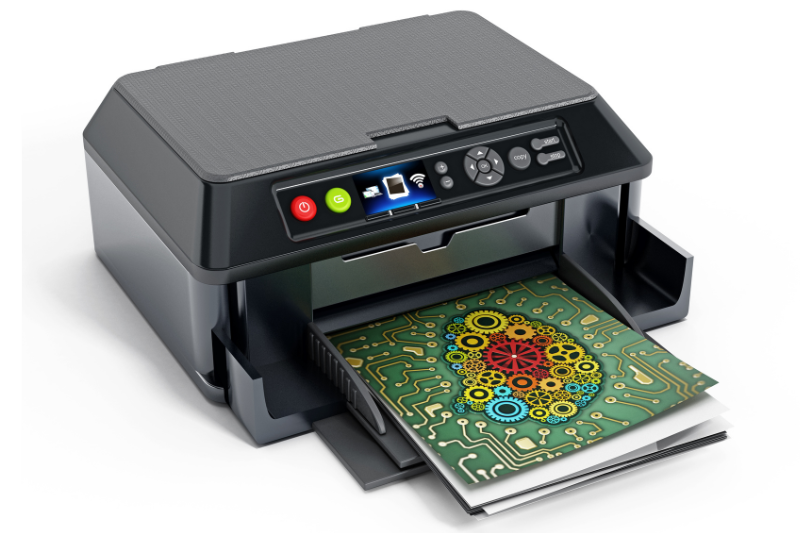
How to set up my HP Printer?
To set up your HP printer, whether it's connected via Wi-Fi, wired Ethernet, or USB, follow these comprehensive steps:
Setting up a Network Printer:
- Enable Automatic Driver Installation: Search Windows for "Change device installation settings" and ensure "Yes (recommended)" is selected to allow Windows to download manufacturer drivers automatically.
- Connect Printer to Network:
- Place your printer and computer near the Wi-Fi router.
- For printers with a touchscreen control panel:
- Open the Setup, Network, or Wireless settings menu.
- Select "Wireless Setup Wizard" and follow instructions to connect to the Wi-Fi network.
- For printers without a touchscreen control panel:
- Press and hold the Wireless button until the wireless light flashes.
- Within two minutes, press and hold the WPS button on the router until the connection process begins.
- For wired (Ethernet) connection:
- Connect the network cable to the printer's Ethernet port and an available port on the router.
- Add Printer in Windows: Follow the on-screen instructions to add the printer in Windows settings, and manually add the printer using the IP address if necessary.
Setting up a USB-connected Printer:
- Enable Automatic Driver Installation: Search Windows for "Change device installation settings" and ensure "Yes (recommended)" is selected.
- Connect Printer to Computer: Make sure an open USB port is available on your computer. Turn on the printer and connect the USB cable to both the printer and the computer.
- Install Printer Driver: Follow the on-screen instructions to install the printer driver, and manually add the printer in Windows settings if necessary.